One Classroom to One Classroom
One Classroom to One Classroom
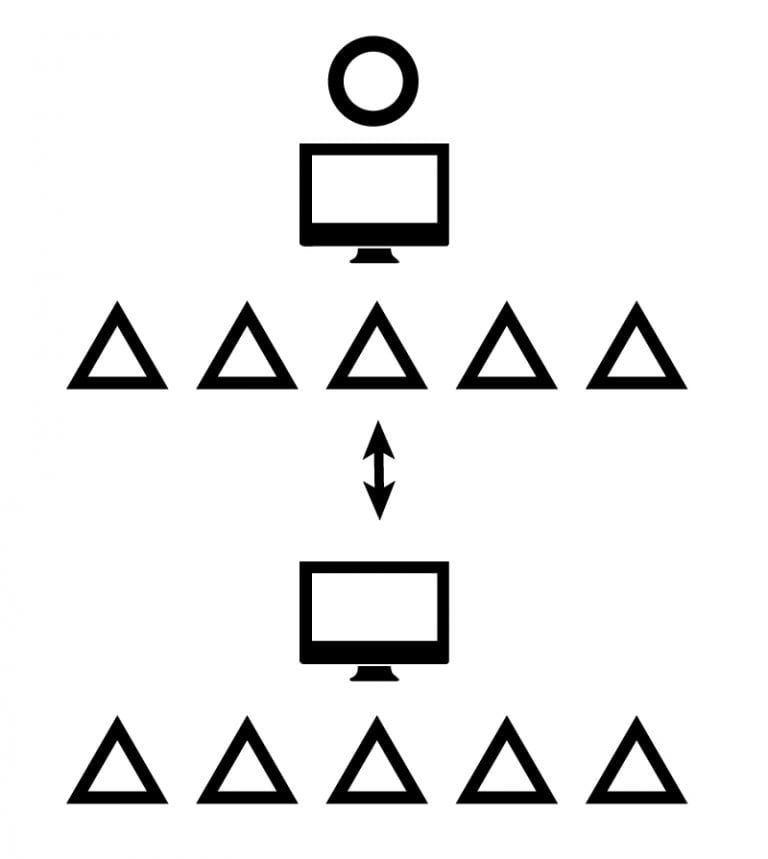
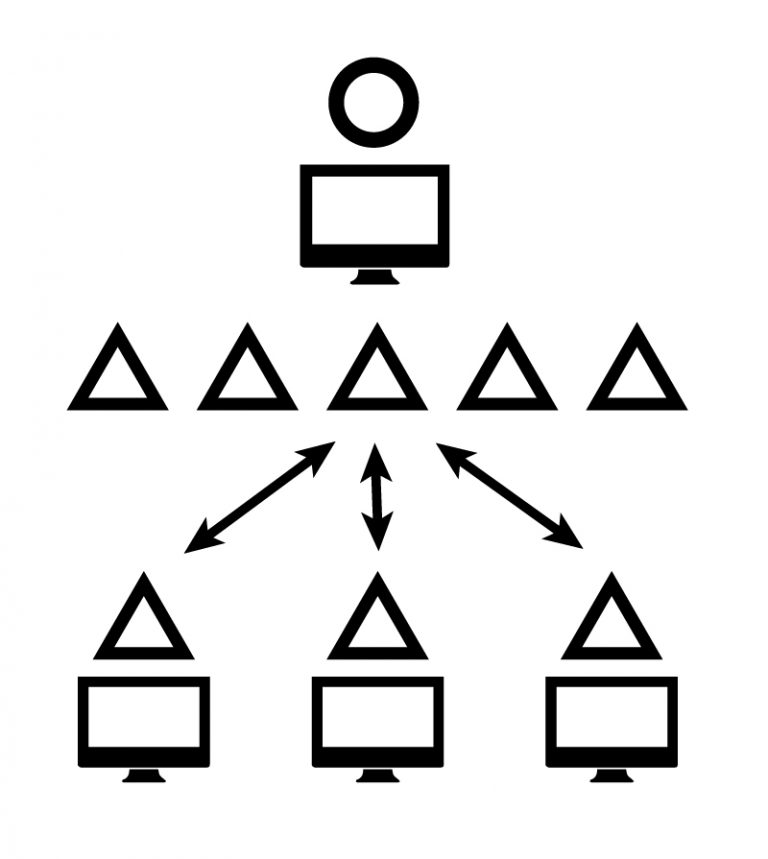
Classroom to Classroom Diagram
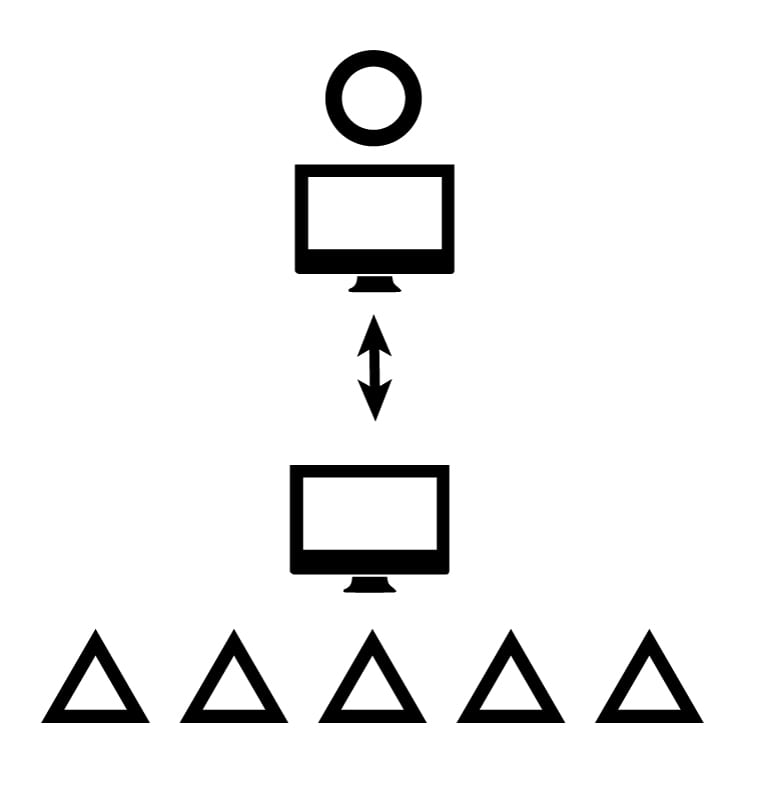
One instructor on their computer transmits to a classroom of students, all viewing through a single computer.
Difficulty to Use: High
Difficulty to Implement: High
Cost: High
Support Needs: High (2 people)
Equipment Needed:
Instructor & Classroom:
- 2 x Camera
(front and back of the room) - 1 x Codec
- 1 x Room Microphone
(per 10 students) - 1 x Lapel Microphone
- 1 x Speakers
- 3 x TV/Projector
Receiving Classroom:
- 1 x Camera (front of the room)
- 1 x Room Microphone (per 10 students)
- 1 x Speakers
- 2 x TV/Projector
Risks and Rewards
This model is expensive to set up and maintain. Support staff are required on both ends to ensure a quality student experience. It is difficult to engage students in this model and the receiving classroom can feel left out if another instructor or staff member is not present.
Technology Considerations
The sending and receiving classrooms must have a good quality camera that tracks the speaker as well as microphones for everyone, which are expensive. An excellent quality internet connection is required on both ends. Both rooms must be well lit and quiet, adjustable lighting is ideal. This is best done as a permanent solution and is not mobile.
Example Scenarios
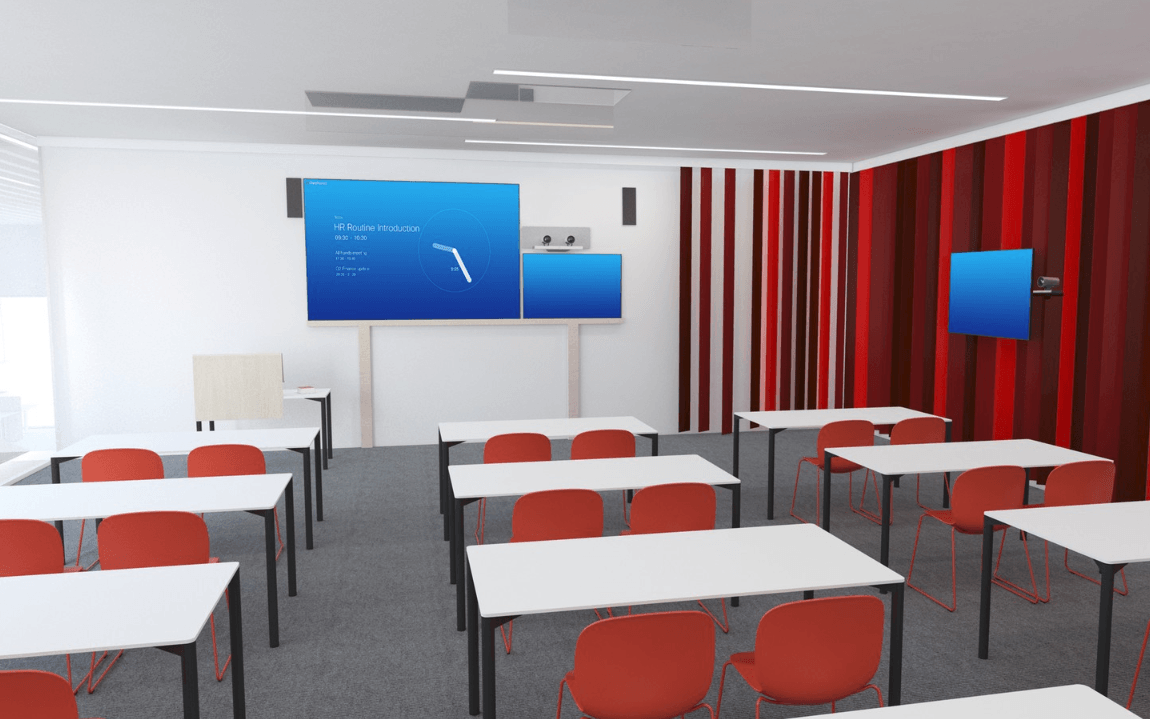
Classroom Setup