LEARN How To Create A Fill In The Blank Quiz
Tagged in: LEARN, How to Videos
Description:LEARN How To Create A Fill In The Blank Quiz

Tagged in: LEARN, How to Videos
Description:LEARN How To Create A Fill In The Blank Quiz
Tagged in: LEARN, How to Videos
Description: Learn how to copy quiz questions into another quiz
Tagged in: LEARN, How to Videos
Description:Learn how to use arithmetic formula
Tagged in: LEARN, How to Videos
Description: Learn how to use the HTML wysiwyg (what you see is what you get) Editor
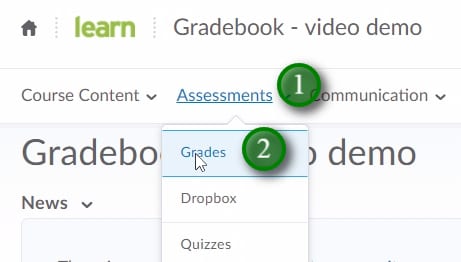
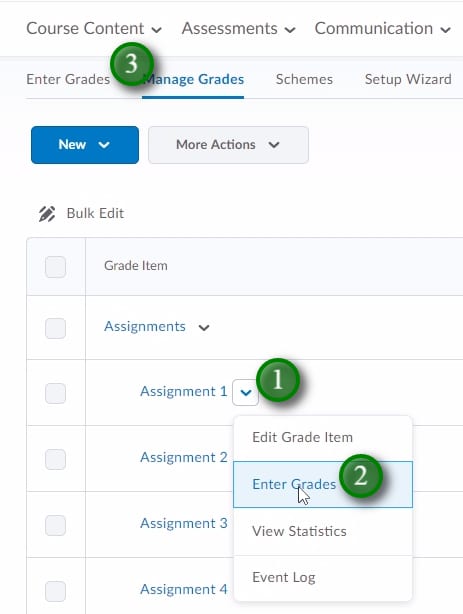
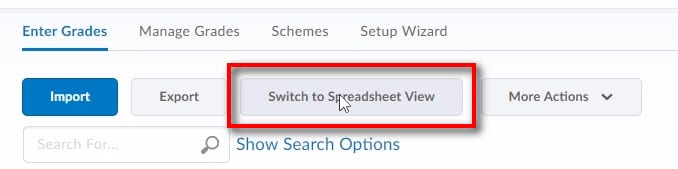
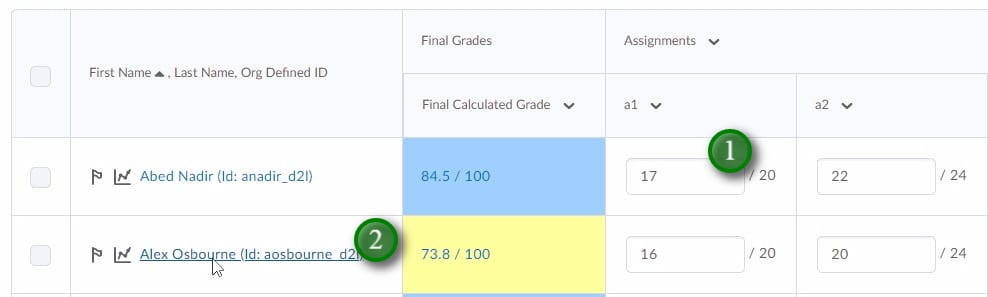
Grades can be manually entered and edited in the LEARN gradebook in a few different ways.
Tagged in: LEARN, How to Videos
Description: Learn how to enter grades into the gradebook
Tagged in: LEARN, How to Videos
Description:Learn how to upload the content outline
Tagged in: LEARN, How to Videos
Description: Learn how to upload content
Access the LEARN discussion forum by clicking “Communication” and then “Discussions”.
For detailed instructions on using the Discussions tool in LEARN please view these tutorials on the Brightspace community:
https://documentation.brightspace.com/EN/le/discussions/learner/discussions_intro_1.htm
Tagged in: LEARN, How to Videos
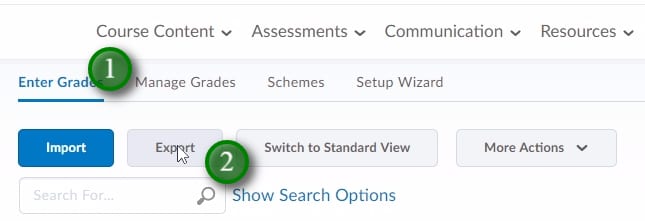
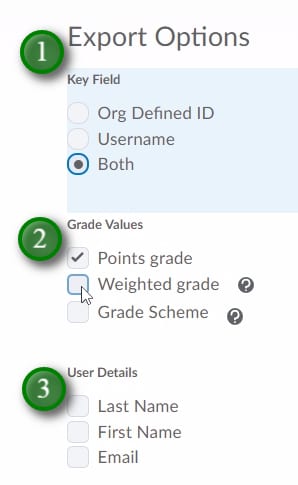
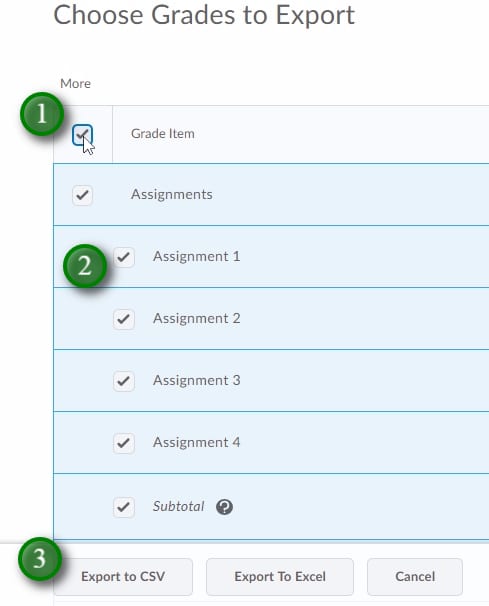
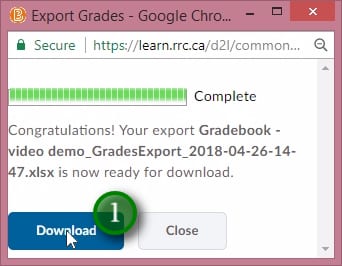
You’re able to export the LEARN gradebook to a CSV or Excel file to save for your records, or to transfer grades from one term to another.

Tagged in: LEARN, How to Videos
Description:
Tagged in: LEARN, How to Videos
Description:
RRC Polytech campuses are located on the lands of the Anishinaabeg, Ininiwak, Anishininwak, Dakota Oyate, and Denésuline, and the National Homeland of the Red River Métis.
We recognize and honour Treaty 3 Territory Shoal Lake 40 First Nation, the source of Winnipeg’s clean drinking water. In addition, we acknowledge Treaty Territories which provide us with access to electricity we use in both our personal and professional lives.