Copy Components from Another Course/Master
Copy Components from Another Course/Master
If you have developed content in a development MASTER you can easily copy it into your course shell for delivery.
Copying Content (written guidelines):
- Enter your Course
- Click “Edit Course” in the upper right hand corner

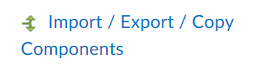
- Click “Import/Export/Copy Components”
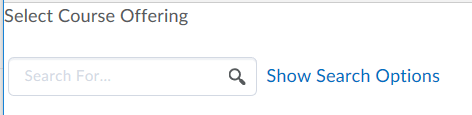
- Click “Search for Offering”

- Enter the name of the MASTER and click search.
- Select the MASTER you would like to copy from

- Click “Add Selected”
- Click “Copy All Components”
Follow the prompts, and your content will have copied from the MASTER to the live course delivery.
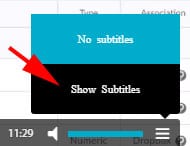
To access the captioning for this video:
- Move your mouse to the lower right side of the video window.
- Click the menu item represented by three dashes
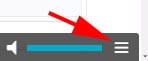
- If captions are available, click “Show Subtitles”