
How-To @ the Fitness Centre #5: Plate-Loaded Chest Supported Row
We’re kicking off a new series to help you feel more comfortable and confident using our spaces – from checking in, to gym etiquette, to using equipment and more! Here is a deeper look into how to use the plate-loaded chest support row:
Looking to strengthen your upper back, improve posture, and build pulling strength? The plate-loaded chest support row is an excellent exercise for beginners and experienced lifters alike.
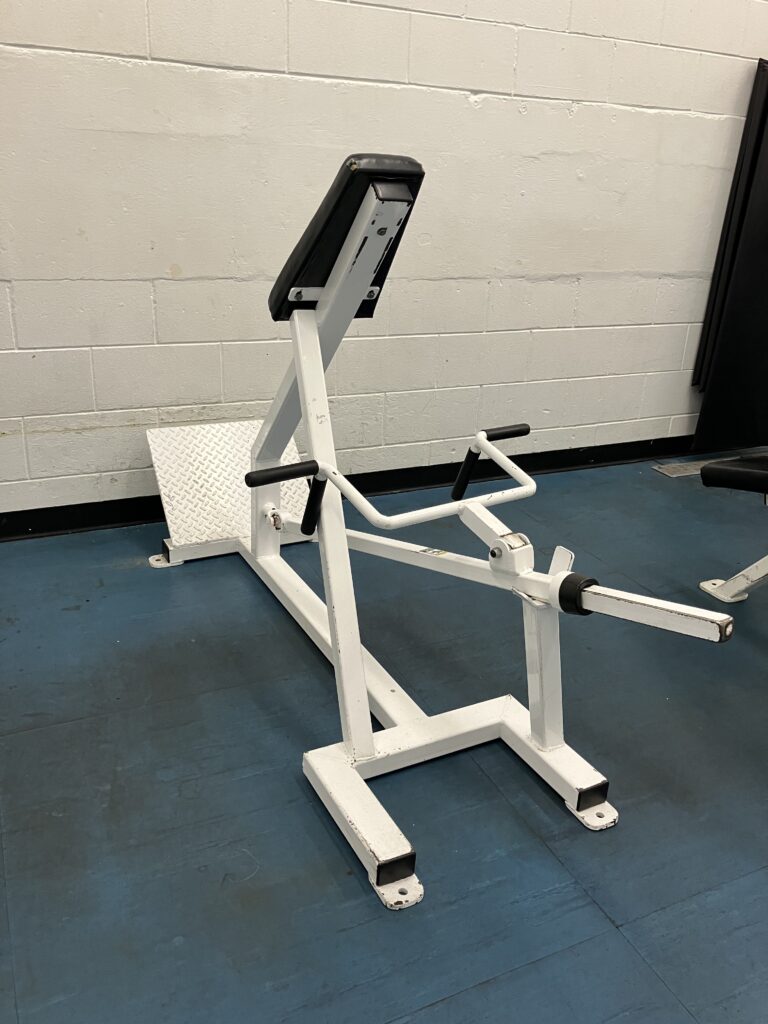
This machine provides chest support while rowing, helping you focus on your back muscles with less strain on your lower back. It’s a great exercise for every gym member wanting to improve upper body strength, posture, and overall fitness.
What does this machine work?
The plate-loaded chest supported row mainly targets:
- Latissimus Dorsi (Lats – side back muscles)
- Rhomboids (Upper back muscles)
- Middle and Lower Trapezius (Upper back muscles)
- Rear Deltoids (Rear shoulders)
- Biceps and Forearms
Benefits of this exercise include:
- Improved upper back strength
- Better posture, especially for those who spend long periods sitting at a desk
- Increased pulling strength for sports and everyday activities
- Reduced lower back involvement compared to traditional bent-over rows with free weights
How to use the Machine
Step 1: Load the weight
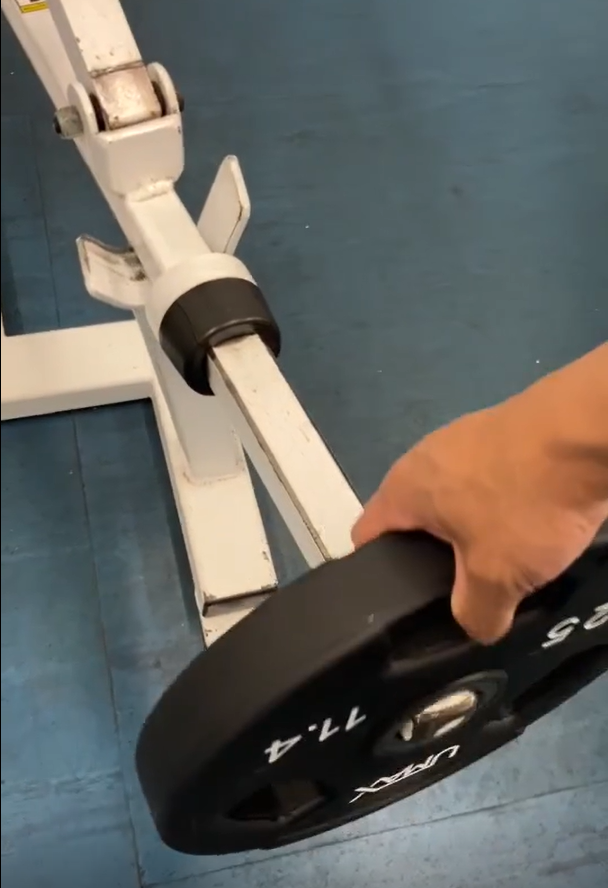
Load plates onto the weight horn located at the front of the machines. If this is your first time trying the machine, start lighter than you think you need and focus on learning proper technique.
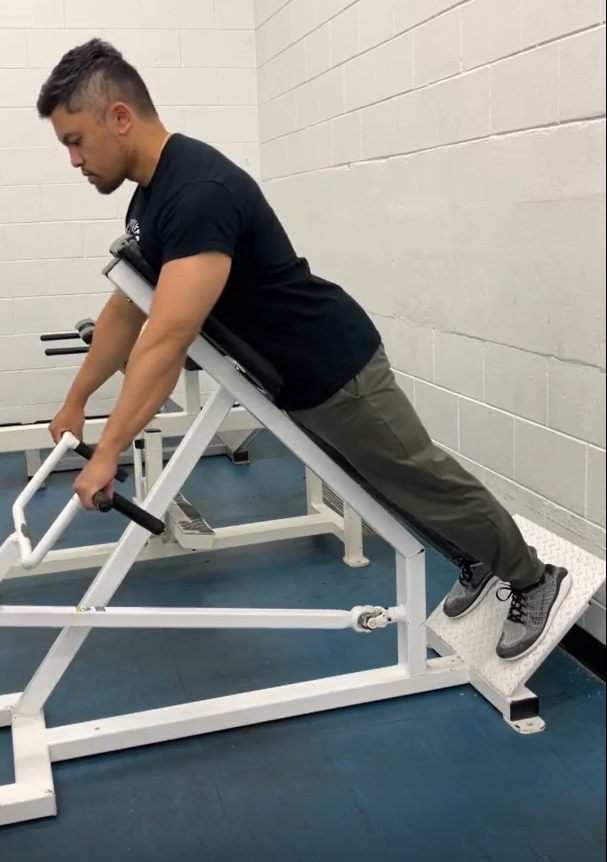
Step 2: Set your position
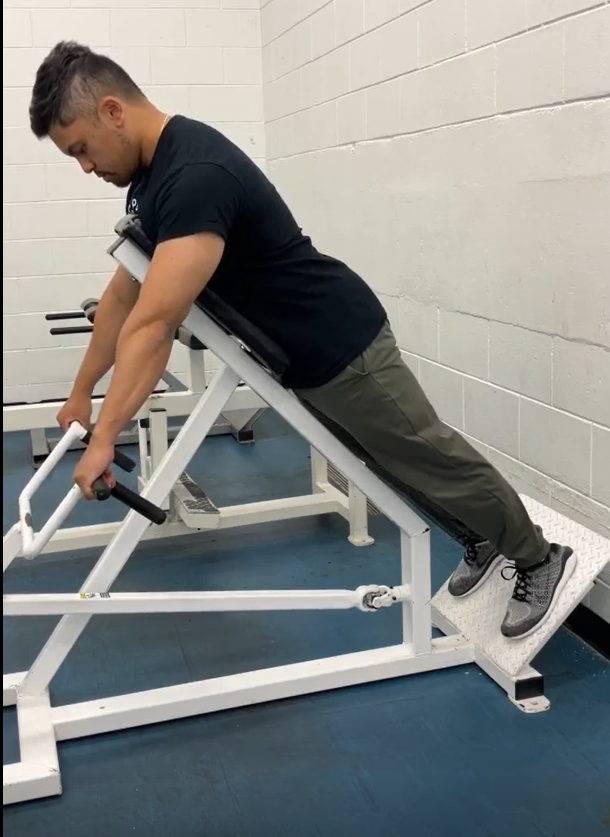
Place your chest firmly against the pad
Position your feet on the platform – roughly shoulder width apart
Un-rack the weight, and extend your arms fully to set-up in the starting position
Step 3: Perform the Row
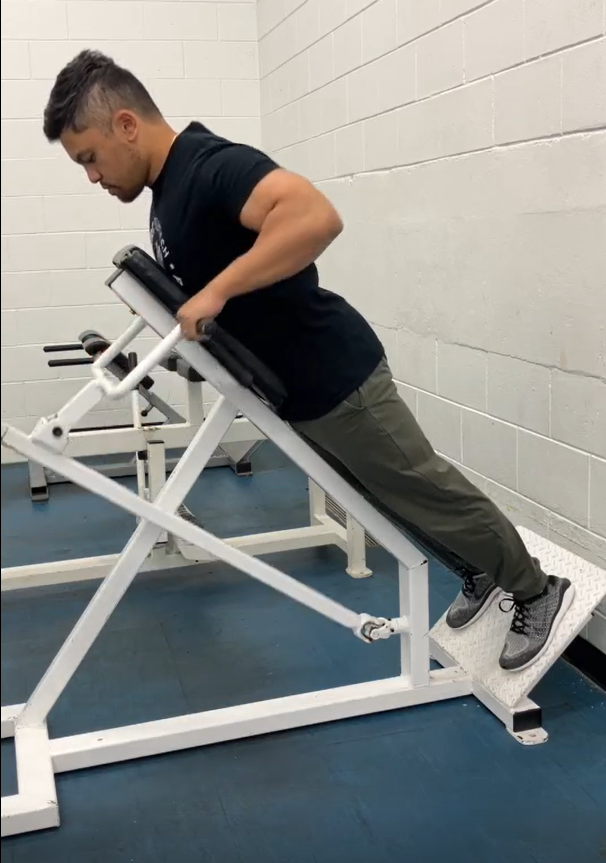
From the starting position, pull the handles towards your chest
Think about driving your elbows back rather than pulling with your hands
Squeeze shoulder blades together at the end of the movement/at the top. Hold for a brief second.
Lower the weight under control until your arms are fully extended
Extra Tips
- Choosing grip – on this machine you have 3 grips to choose from:
- Narrow/Neutral grip – palms facing in. This is the most comfortable option, putting less stress on shoulders and wrists. Good all-around choice for most users.
- Wider grip – palms facing down. This places greater emphasis on upper back and rear shoulders. It can feel more challenging through the upper portion of movement.
- Closer grip – palms facing down, but slightly closer together. This creates a greater range of motion with stronger contraction through lats.
- Choose the grip that better suits you and your goals – no one grip is better than the other.
- Breathing cues
- Exhale as you pull. Inhale as you lower the weight.
- Avoid holding your breath throughout the set/each rep.
- Don’t forget to wipe down equipment before and after use to allow for the next person to use!
Recommended Sets and Reps
- Beginner
- 2-3 sets
- 8-12 Reps
- Intermediate
- 3-4 sets
- 8-15 reps
- Advanced
- 3-5 sets
- 6-15 reps
- Overall, focus on controlled movement and full range of motion before increasing weight.
How to incorporate into your workouts
The chest supported row works well as part of most upper-body or full-body training programs.
Example upper-body workout
- Bench press
- Chest supported row
- Shoulder press
- Lat Pulldowns
- Bicep Curl
Example full-body workout
- Leg press
- Chest supported row
- Chest press
- Planks
For most individuals, performing rows 1-3 times per week is sufficient to improve strength and support health posture.
Try It Today!
Feel free to follow these steps to help you get started.
Still not sure how to do the exercise? Head over to our Instagram for a video tutorial!
You can also seek help through our Fitness Centre Orientation, where we can show you how to perform this exercise in person. Just contact Henry.
Sources
PubMed – Comparison of different rowing exercises