Learning Technologies

Learning Technologies

Changing a Course Image

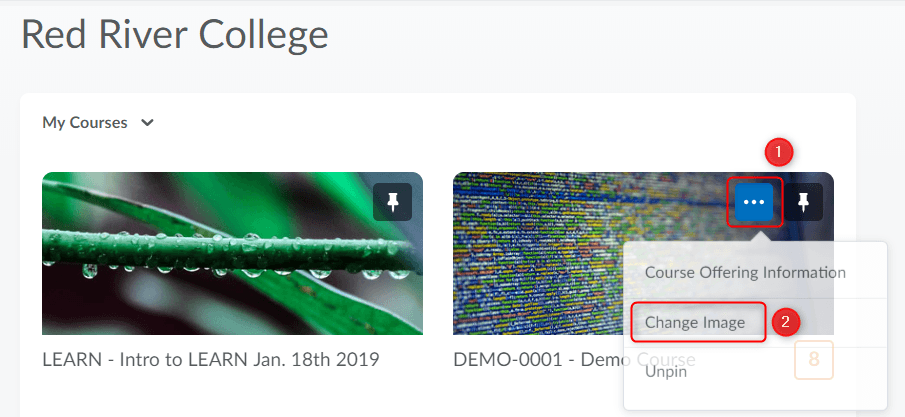
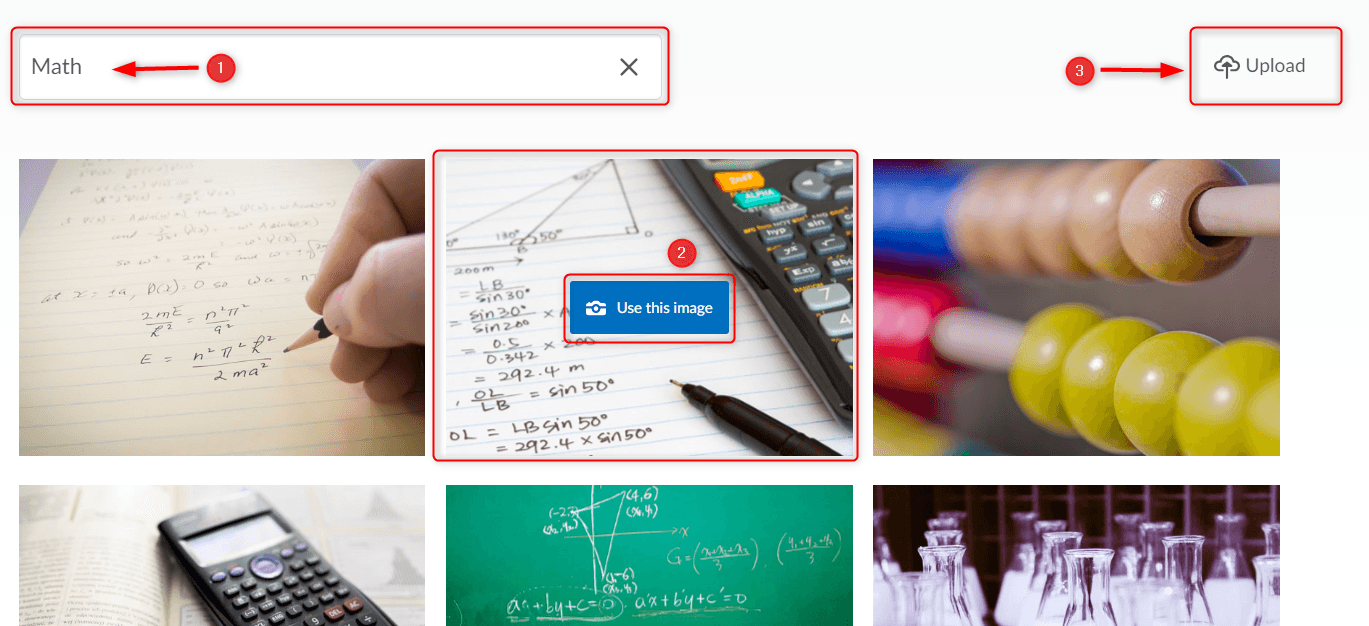
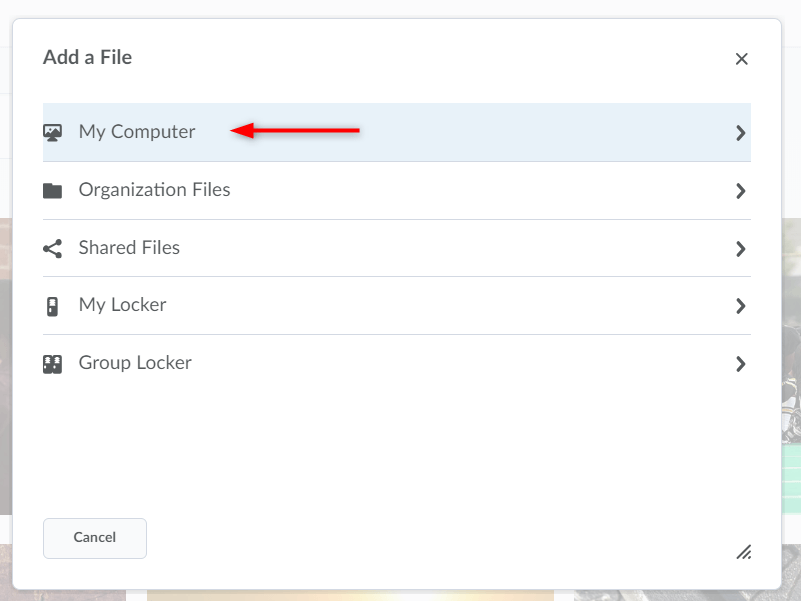
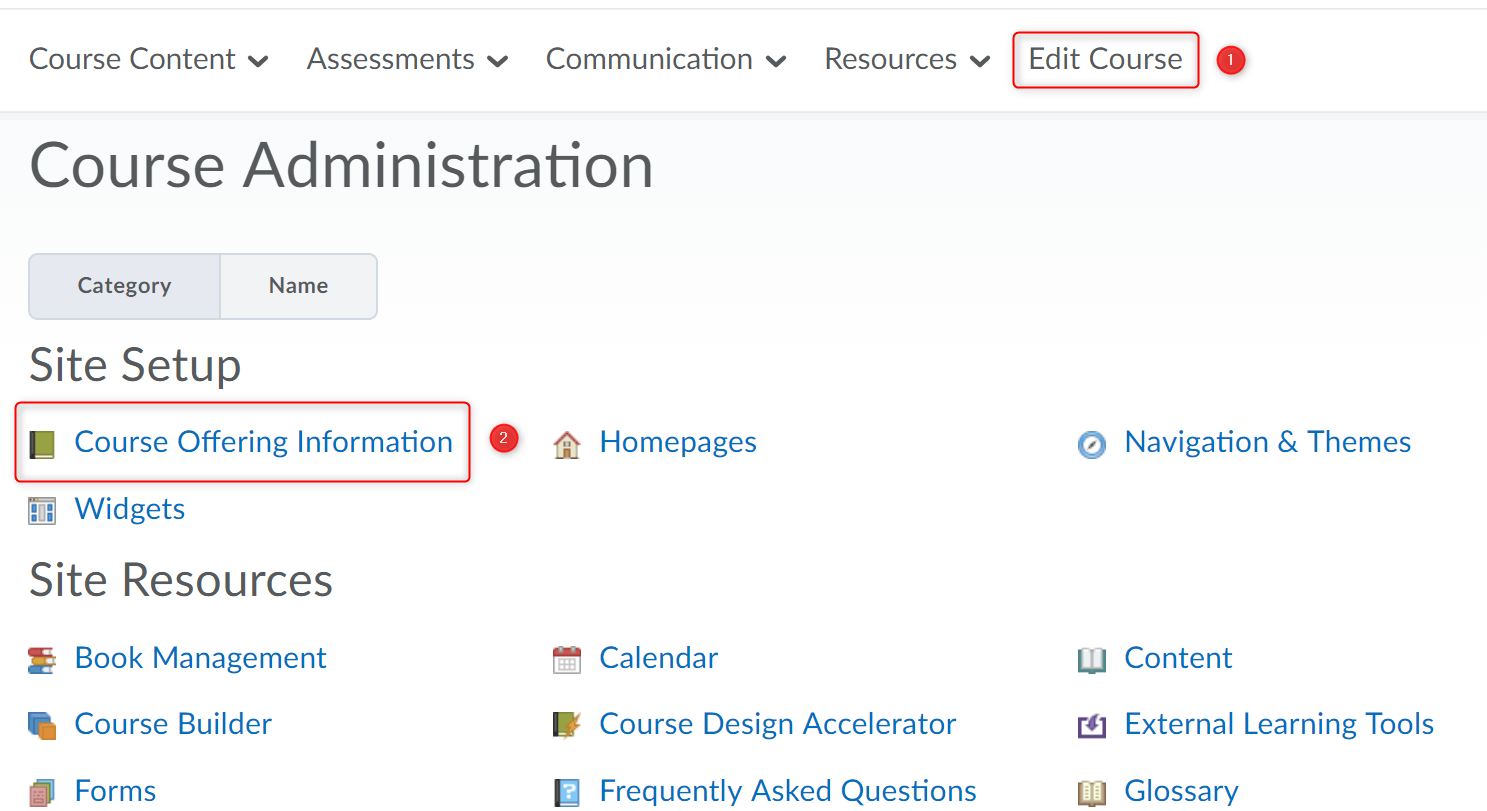
With the addition of the course tiles in the “My Courses” widget, an image is automatically assigned to each course in LEARN as it’s created. As an instructor or a developer you are able to personalize any course by changing that image and even uploading your own custom image.

The following video demonstrates how to change or upload an image for your course:

Written instructions:

  1. Find the course whose image you would like to change. Hover over the course’s existing image and click the “” icon (1), then click “Change Image” (2)
  2. Type the topic you wish to search for an image in (1) and click “Enter”. Select the image you wish to use by hover over it and click “Use this Image” (2). If you wish to upload an image that you have taken, or is free of copyright restrictions click “Upload” (3).
  3. Clicking “Upload” an image will bring you to the “Add a File” menu. To upload your own copyright free image click “My Computer”, “Upload”, find and choose image that you want to upload, click “Open” and “Add”.
  4. You can even add this image as a banner across the course home page by choosing “Display the image in a banner…” option under “Course Offering Information” portion of your course.Go to “Edit Course” (1) and click on “Course Offering Information” (2).
  5. Choose “Display the image in a banner…” (4) and “Save” (5). You can also upload your own image by clicking “Browse” (6) and “Save” (5).


RRC Polytech campuses are located on the lands of Anishinaabe, Ininiwak, Anishininew, Dakota, and Dené, and the National Homeland of the Red River Métis.

We recognize and honour Treaty 3 Territory Shoal Lake 40 First Nation, the source of Winnipeg’s clean drinking water. In addition, we acknowledge Treaty Territories which provide us with access to electricity we use in both our personal and professional lives.

Learn more ›