LEARN – Changing a Course Image
Changing a Course Image
An image will be automatically assigned to each course in LEARN as it’s created, you are able to personalize any course that you are the instructor or developer in by changing that image and even uploading your own custom image.
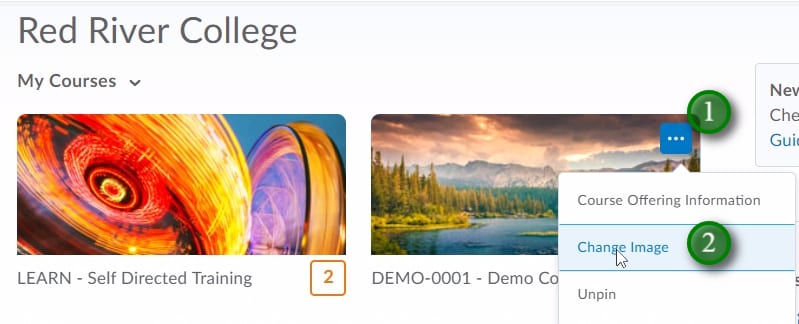
- Find the course who’s image you would like to change. Hover over the course’s existing image and click the “…” icon (1), then click “Change Image” (2)
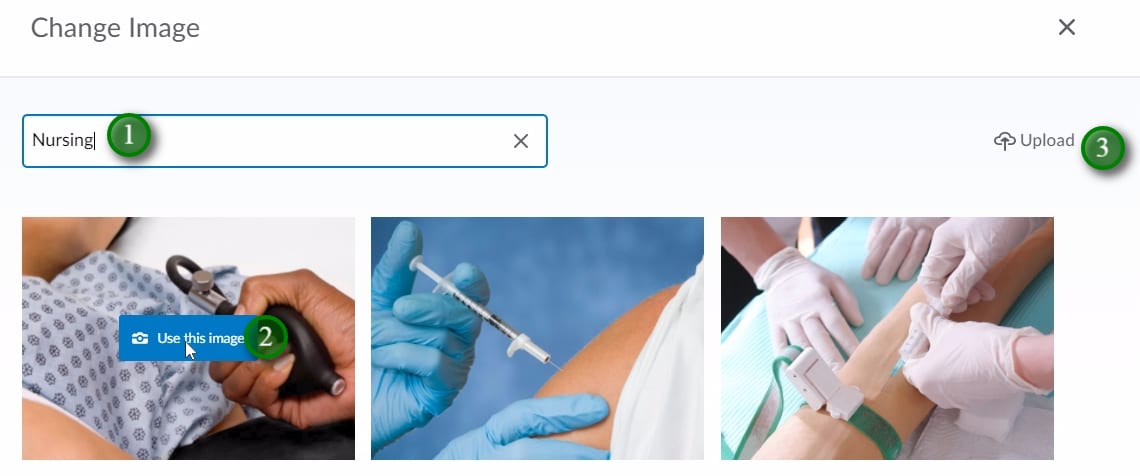
- Type the topic you wish to search for an image in (1) and click “Enter”. Select the image you wish to use by hover over it and click “Use this Image” (2).
- If you wish to upload an image that you have taken, or is free of copyright restrictions click “Upload” (3).
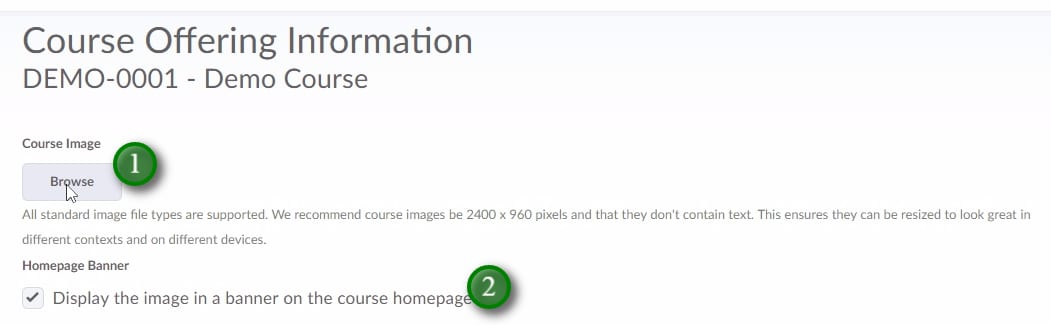
- Clicking to upload an image will bring you to the Course Offering Information portion of your course. You can also access this page by entering the course, clicking “Edit Course”, and “Course Offering Information”.
- To upload your own copyright free image click “Browse” (1) and follow the prompts. You can even add this image as a banner across the course home page by clicking “Display the image in a banner…” (2)
Video:
Video Description:
With the addition of the course tiles in the “My Courses” widget, you are able to change the image that is displayed.
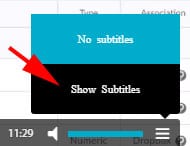
To access the captioning for this video:
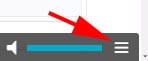
- Move your mouse to the lower right side of the video window.
- Click the menu item represented by three dashes
- If captions are available, click “Show Subtitles”