Install PaperCut on your Mac
Red River College Polytechnic uses PaperCut print management software, which allows you to install, access, and use College networked printers on your personal Mac. To install PaperCut on your Mac, follow these steps:
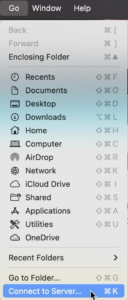
- On the top menu bar, click Go.

- On the submenu, click Connect to Server.

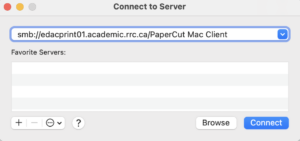
- In the Server Address field, enter smb://ndacprint01.academic.rrc.ca/PaperCut Mac Client for the Notre Dame Campus, or smb://edacprint01.academic.rrc.ca/PaperCut Mac Client for the Exchange District Campus, and then click Connect.

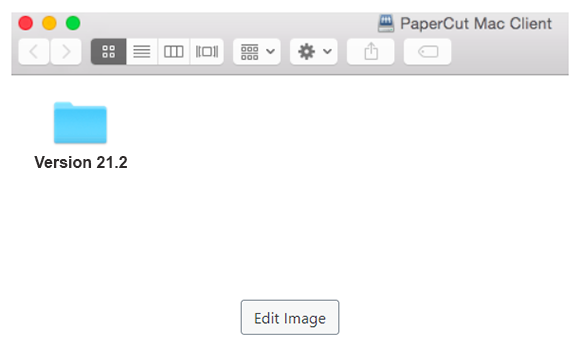
- Click the Version 21.2 folder.

- On the left‑hand side of the top row, click the client-local-install.app icon.

- On the Install PCCClient into the Applications folder window, click Yes.

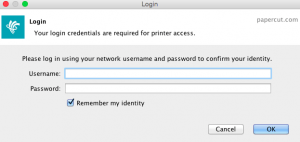
- When the Login window opens, enter your College user name and password, and then click OK.

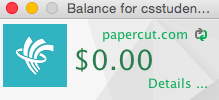
- When the PaperCut Balance window opens at the top right‑hand corner of your desktop screen, click the Details link to see your balance, recent print jobs, and to add credit.

NOTE: Once you have installed PaperCut on your Mac, there are two more steps to follow in order to print your documents.
- Please see the Student PaperCut webpage for instructions to add credit to your PaperCut account and to view more PaperCut features.
- See the Install a College printer on your Mac webpage to print from your device.
← Back to Student Printing