
RRC Polytech uses PaperCut print management software. This system tracks the print jobs associated with your individual account.
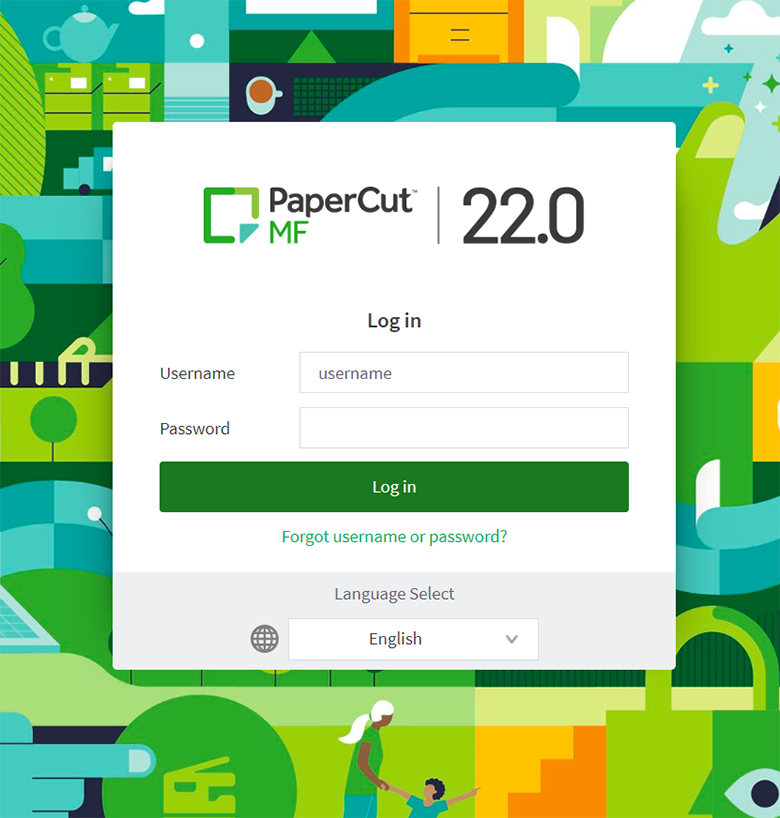
To install PaperCut on your personal device, open the Install PaperCut on your device webpage or the Install PaperCut on your Mac webpage. Once installed, the PaperCut Balance window will appear at the top right‑hand side of your desktop screen whenever you start your computer.
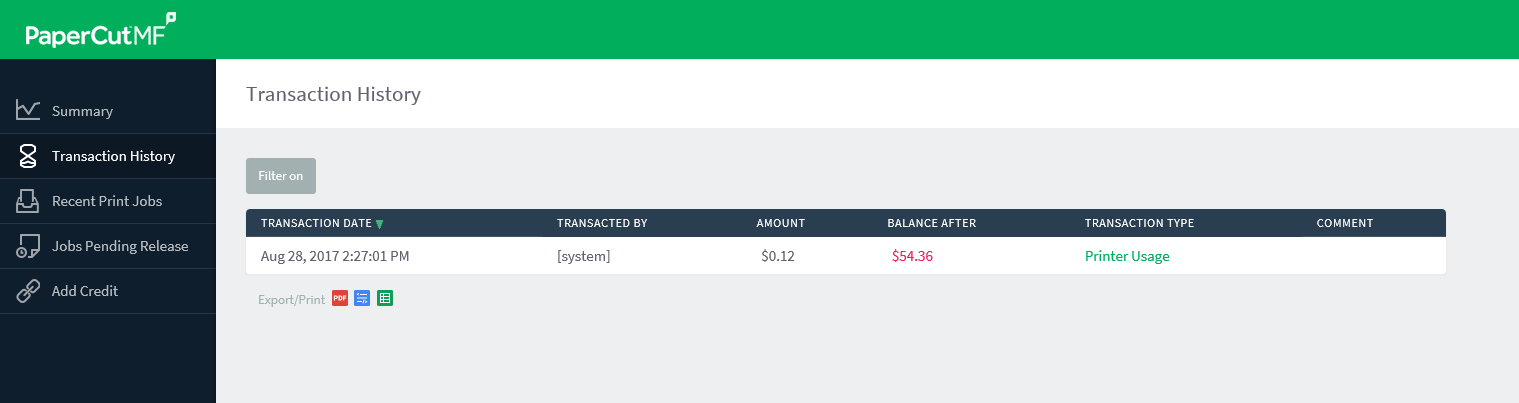
The Transaction History tab on the left‑hand pane shows all the changes related to the balance of your account. It shows the money you have added, removed, and spent. You also can use the filter link to select the specific date and time range you wish to review.
You can add credits to your student print account using the account pay stations available at NDC and EDC campuses, by logging on to your online PaperCut account, or by visiting either Campus Store location.
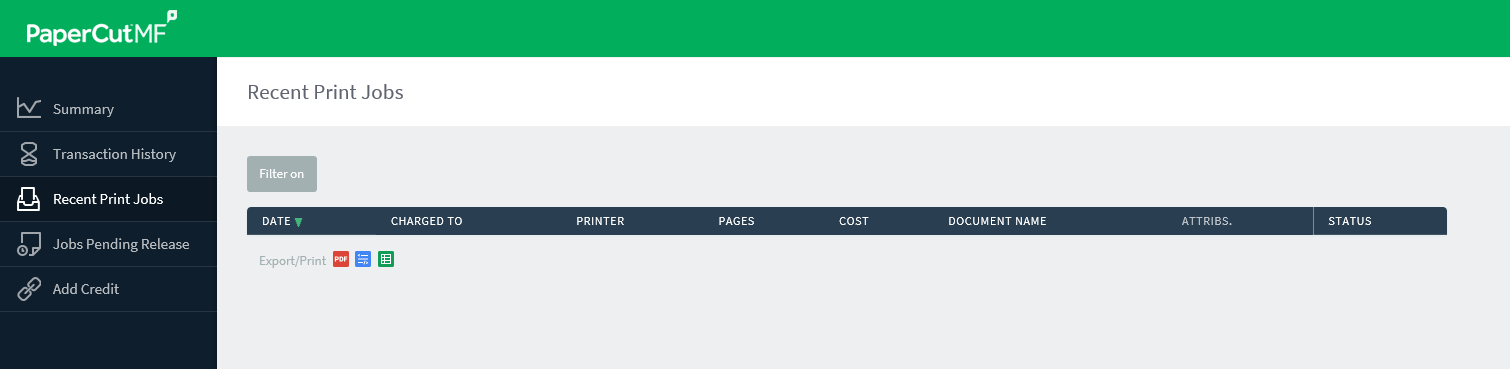
The Recent Print Jobs tab on the left‑hand pane shows all the print jobs related to your account. It shows what you have printed, when you printed it, the printer your job was printed on, and how much it cost. You also can use the filter link to select the specific date and time range you wish to review.
The Add Credit tab on the left‑hand pane allows you to add credit to your PaperCut account using Moneris. Select a dollar value in the Amount to add drop‑down menu, and then click Add Value.

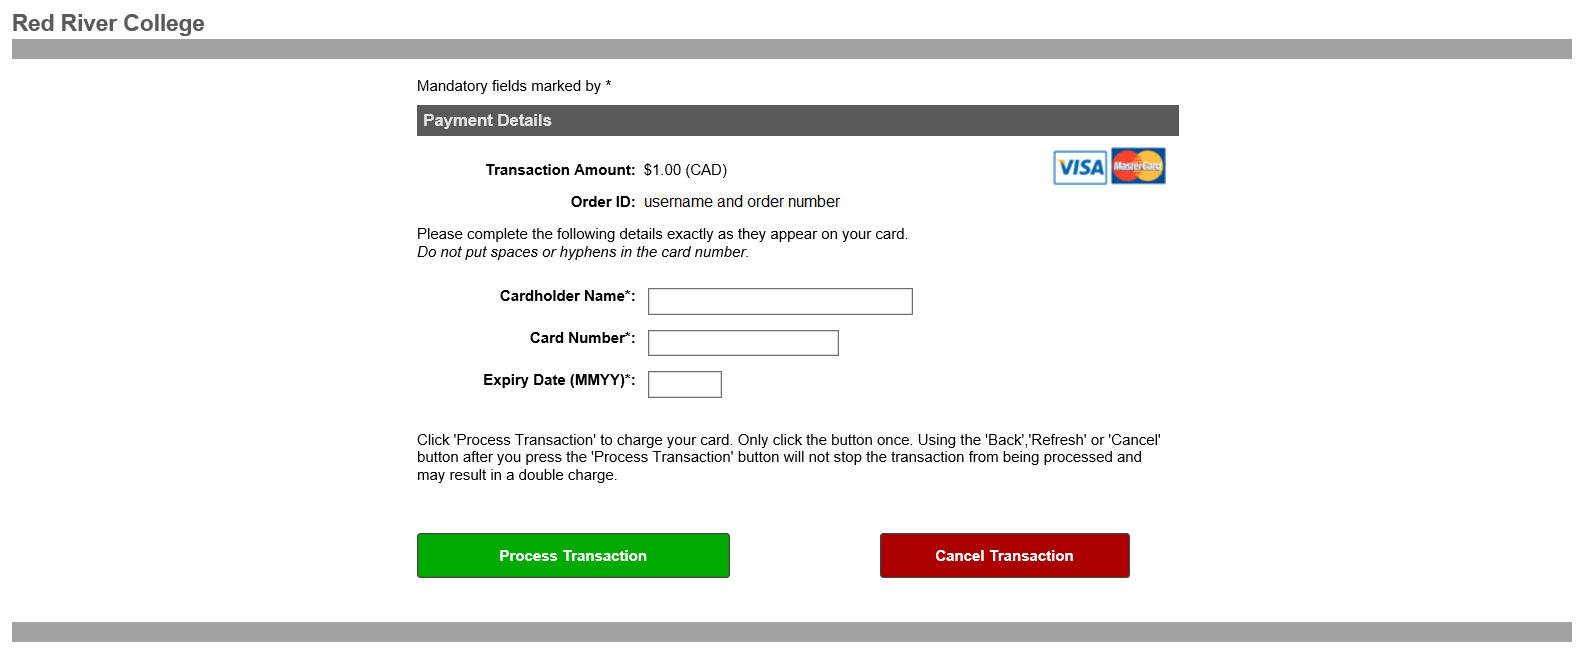
On the Moneris Payment Details page, confirm the transaction amount, enter the cardholder name, card number and expiry date, and then click Process Transaction to complete your payment or Cancel Transaction to exit.
RRC Polytech campuses are located on the lands of the Anishinaabeg, Ininiwak, Anishininwak, Dakota Oyate, and Denésuline, and the National Homeland of the Red River Métis.
We recognize and honour Treaty 3 Territory Shoal Lake 40 First Nation, the source of Winnipeg’s clean drinking water. In addition, we acknowledge Treaty Territories which provide us with access to electricity we use in both our personal and professional lives.