
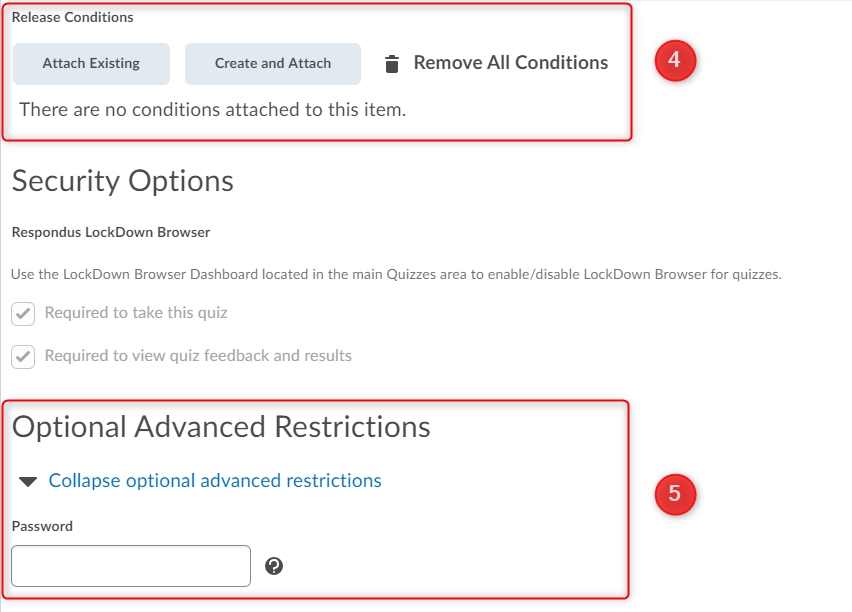
Release Conditions (4) allow you to associate a quiz with other items in LEARN. For example, you can require that users meet some criteria, such as reading a set of lecture notes in Content, before they can take a quiz. You can also make a submission to the assignment a criterion for accessing a quiz.
![]()
You can add a password to the quiz and share it with your students when you decide. This option allows you to secure the quiz with additional optional advanced restrictions.
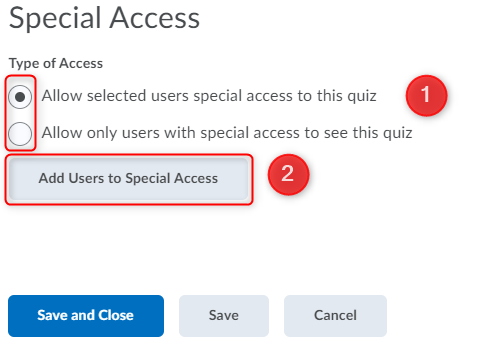
Special access permissions allow you to set different availability dates and times for specific users. For example, you could extend the deadline for users who require remedial help or who are taking the quiz beyond the original scope of the quiz. You can also add special access after a quiz’s end date has passed for users who have a legitimate excuse for missing the deadline.
The ![]() special access icon displays on the Quiz list page beside any quiz that includes special access settings.
special access icon displays on the Quiz list page beside any quiz that includes special access settings.
RRC Polytech campuses are located on the lands of the Anishinaabeg, Ininiwak, Anishininwak, Dakota Oyate, and Denésuline, and the National Homeland of the Red River Métis.
We recognize and honour Treaty 3 Territory Shoal Lake 40 First Nation, the source of Winnipeg’s clean drinking water. In addition, we acknowledge Treaty Territories which provide us with access to electricity we use in both our personal and professional lives.