Information Technology Solutions

Information Technology Solutions

Share files in OneDrive

For recommendations for the safe and appropriate use of your College OneDrive for Business account, please see the Office 365 usage recommendations webpage.

NOTE: If you want to save and share a PowerPoint presentation to OneDrive so other users can edit it, save the presentation using the .pptx file extension. (The .odp file extension does not allow multiple users to edit a presentation at the same time and the other users will have read‑only access.)


You can scroll through all of the topics on this page or click the individual topics below:


Sharing files

  1. Locate the file you wish to share from within your OneDrive.
  2. There are two ways to share.
    1. Click the Share icon share button next to the file name.
    2. Click the More Options icon more options button next to the file name, and then click Share.
      click share
  3. Type in the name of the person, select their permission option at the drop down on the right-hand side, and then click Send.
    add name select permission option and click send

Stop sharing with everyone

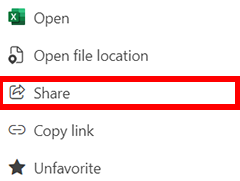
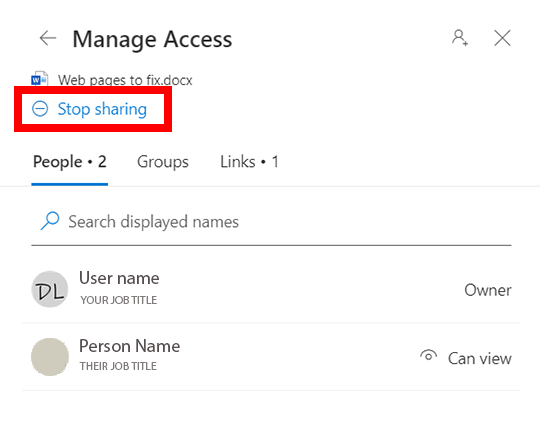
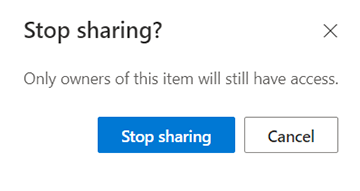
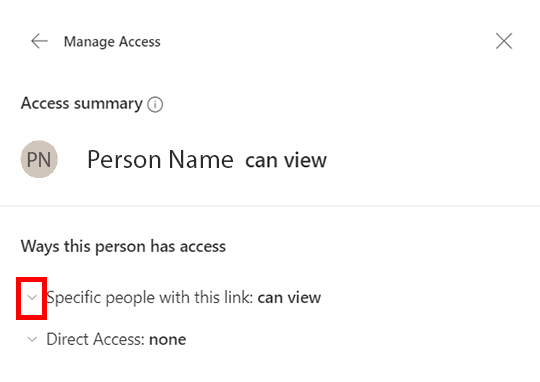
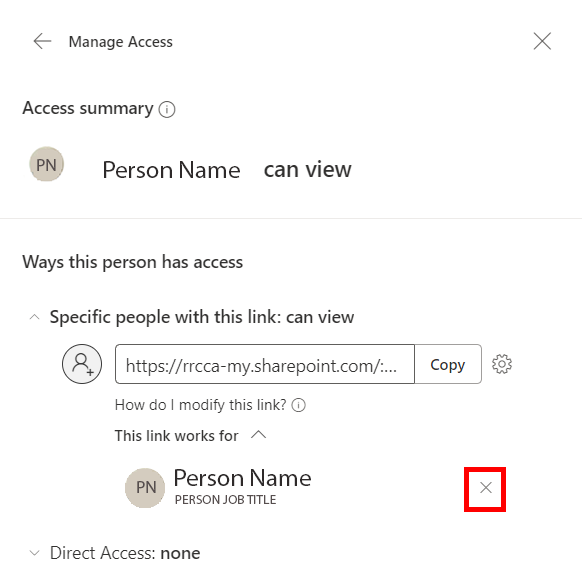
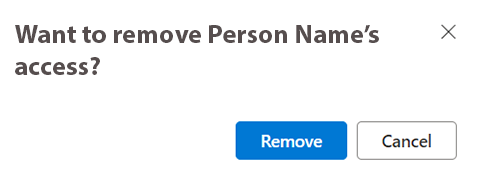
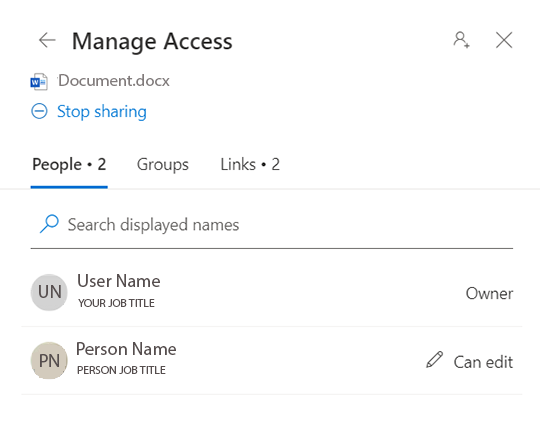
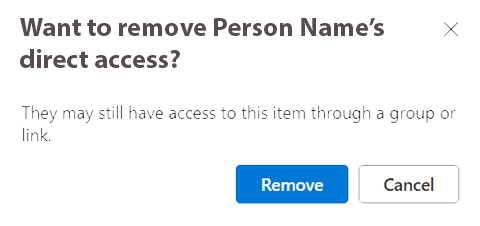
While working on a project we share files so that others may edit them as needed, view the progress, or so that they may review them. When the project is over, and you need to remove their permissions.

  1. Click People you specify can edit.
    click people you specify can edit
  2. Click Stop sharing.
    click stop sharing
  3. Click Stop sharing.
    click stop sharing

Stop sharing with one individual

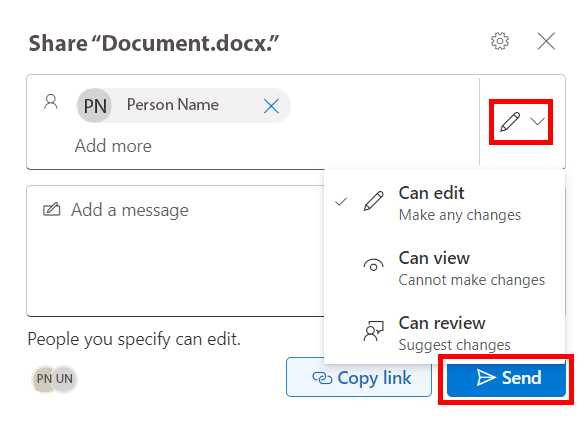
You may need to edit the permissions of one person, and they might have View or Edit access.

When they have View access

  1. Click the drop down by Specific people with this link: can view.
    click the dropdown by specific people with this link
  2. Click the drop down by their account icon.
    click the dropdown by their account icon
  3. Click the X to stop sharing.
    click the x to stop sharing
  4. Click Remove.
    click remove

When they have Edit access

  1. Click People you specify can edit.
    click people you specify can edit
  2. Click the person where you want to remove access.
    click the person you want to manage access
  3. Click the two drop downs, and then click Remove direct access.

    NOTE: You may also change permissions within this process to view or edit.
  4. Click Remove.
    click remove

← Back to Office 365 (OneDrive & OneNote)

RRC Polytech campuses are located on the lands of Anishinaabe, Ininiwak, Anishininew, Dakota, and Dené, and the National Homeland of the Red River Métis.

We recognize and honour Treaty 3 Territory Shoal Lake 40 First Nation, the source of Winnipeg’s clean drinking water. In addition, we acknowledge Treaty Territories which provide us with access to electricity we use in both our personal and professional lives.

Learn more ›