Information Technology Solutions

Information Technology Solutions

Create Column

Creating and managing new columns in your libraries and lists provides more information about the files you upload and the list items you add. This information is called metadata and it allows you to categorize your information to suit your needs.

For additional instructions about categorizing your information, open the Create View web page.


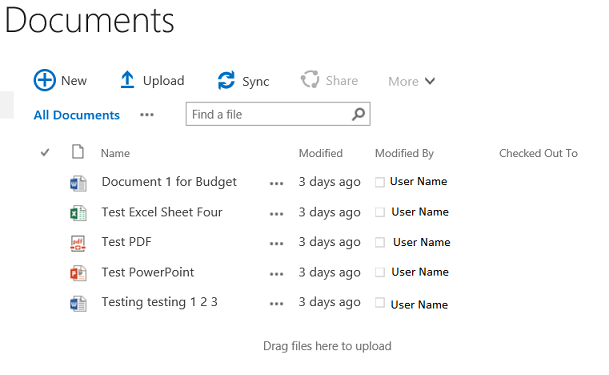
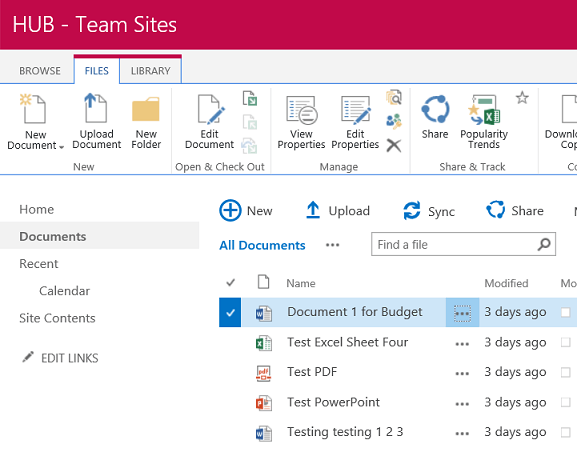
The image below shows a newly created SharePoint library with its default columns. (This will be similar in a newly created SharePoint list.) The following instructions use this library as an example for creating a column.

new library


Create a column for a library

  1. On the Library tab, click Library Settings.
    library tab

    NOTE: If you are adding a column in a list, on the List tab, click List Settings.

    list tab
  2. Scroll down to the Columns section, and then choose Create column.
    creat column
  3. On the Settings – Create Column menu, choose from the following column options, and then click OK when finished:
    NOTE: There are different options available under each column type. This example uses Choice to demonstrate column creation and to provide a further look at categorizing your information in Create View.

    • Column name: Enter a specific column name that it is applicable to your information in order to differentiate it from other columns. This example uses the name Program.
    • Column type: Choose the column type specific to your information. The most common are: single or multiple lines for information, number or currency for numerical information, date and time for specific timeframes for your data, and hyperlink or picture for added metadata of your information. This example uses the Choice column type.
    • Require information: The SharePoint default is set to No, but you can choose Yes to require others to add information to the column.
    • Column choices: You can add the choices in any order, but this example uses an alphabetical list for the Excel, PDF, PowerPoint, and Word file types.
    • Display choices: Display choices for Choice include Drop‑Down Menu, Radio Buttons, or Checkboxes to allow multiple selections. This example uses the Drop‑Down menu.
    • Fill‑in choice: The Fill‑in choice button creates a blank option, similar to an Other option in a list of choices, where you can add information that you have not already provided. The default is set to No, but you can select Yes to enable this choice.
    • Default value: Choose the item that you would like to be the default whenever someone adds a new file or item. If you do not choose one, the first item in your choice list will become the default.

    settings – create column menu

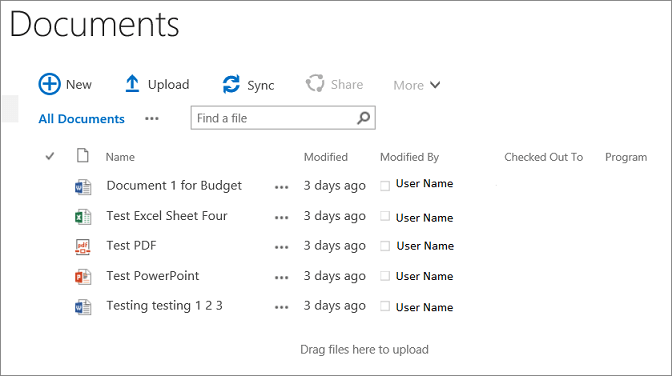
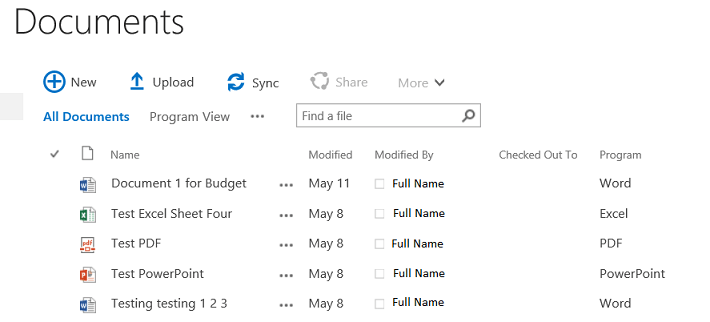
    The following image displays the library with the newly added Program column on the right‑hand side.
    library with new Program column

    NOTE: When you upload a new file to a library or add an item to a list, you improve the ability to search for those files and items.

Edit the properties of an existing file

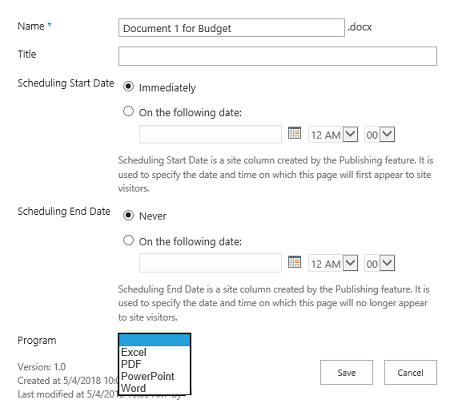
After you create a new column, you will need to update the properties of existing files in your library or items in your list by following these steps:

  1. Click to the left of the file where you would like to edit the properties, and then on the Files tab, click Edit Properties.
    files tab – edit properties
  2. Update the properties for your column, and then click Save.
    column properties menu

  3. Repeat Step 1 and Step 2 until you have updated the properties for all your files.

    documents library with updated properties


← Back to SharePoint (teamsites@rrc.ca)

RRC Polytech campuses are located on the lands of Anishinaabe, Ininiwak, Anishininew, Dakota, and Dené, and the National Homeland of the Red River Métis.

We recognize and honour Treaty 3 Territory Shoal Lake 40 First Nation, the source of Winnipeg’s clean drinking water. In addition, we acknowledge Treaty Territories which provide us with access to electricity we use in both our personal and professional lives.

Learn more ›