
Visit https://careerbridge.rrc.ca, hover over the Employers menu in the top right corner and click Account Registration.
Complete the form. There are three sections – Organizational information, Divisional information and Employer information.
Once you have submitted the form, Career Services will review your submission and approve it within two business days. Once approved, you will receive an email confirming your access, and you can log in to post opportunities.
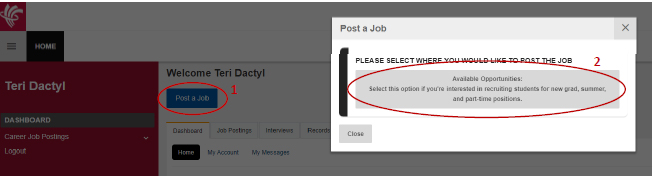
Once you are logged in, press the Post a Job button at the top of the screen. Then choose the Available Opportunities option.
If you have not posted any opportunities, it will take you directly to the job posting form.
If you have posted previous opportunities, it will give you the option to post a new position or repost one of your previously posted positions.
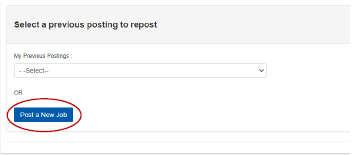
Choose Post a New Job, and it will take you to the job posting form. Please note that all fields marked with an asterisk (*) are mandatory.
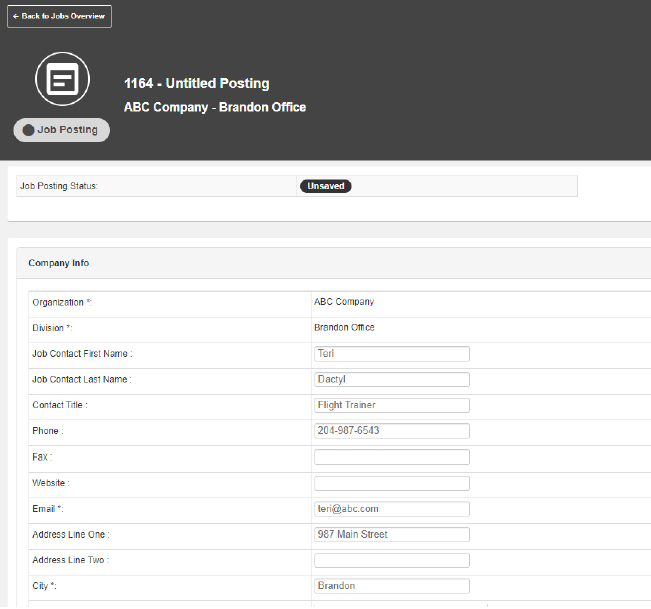
The company information is imported from the employer profile you created during the registration process, but you can change this information if you wish.
Students will only be able to view the Organization, Division, City, Province/State, and Country.
Note: The email address listed in this section will be one that students’ applications are sent to, if you choose to receive applications via email.
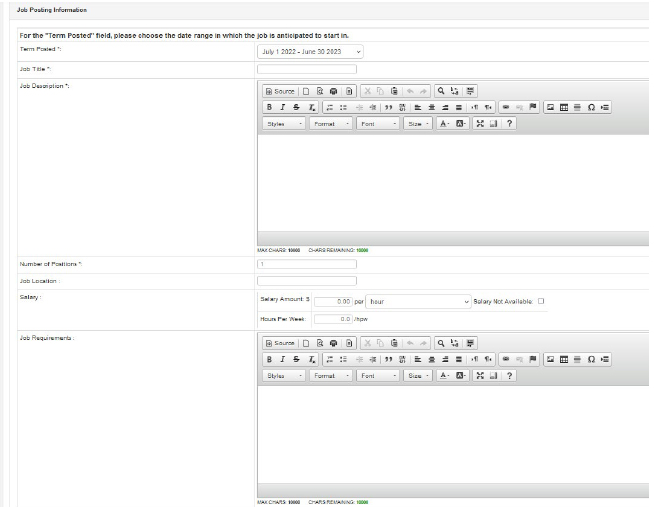
For the Term Posted field, please choose the date range when the position is anticipated to start in. For example, if the position is anticipated to start August 1, 2022, use the July 1, 2022 – June 30, 2023, term.
If you are uncertain which term to use, use the default value.
Complete the rest of the form. All fields marked with an asterisk (*) are required.
If you have a specific start date for the position, you can enter it in the Start Date field.
If it is a term position, you may can also list the end date.
If you have any additional information (e.g., job description), you can upload a file with the job posting.
By default, the job will be made available the date you post it. If you would like the posting to be made available at a later date, use the Posting Go Live field.

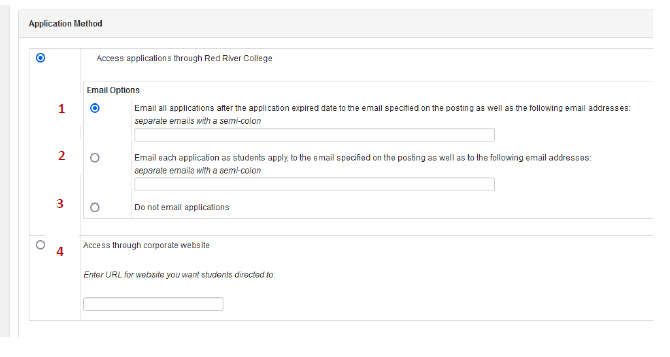
Use the Application Method options to choose how you would like to receive applications.
Options include:
If you prefer that candidates apply via mail, fax, or in person, please choose option 4, and enter “Please see Additional Application Information”. Then, in the Additional Application Information section, provide instructions on how you would prefer to receive applications (e.g., “Please fax applications to 204-555-5555”, “Please apply in person at 321 Main Street with resume”).
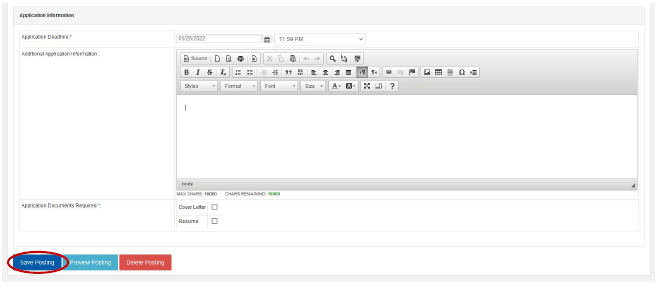
Use the Application Information options to enter a closing date or application deadline, as well as any additional application information or instructions (e.g., if you prefer to receive applications via fax, mail or in person, or if you require a criminal record check for all applicants).
You can also indicate which documents you require with applications. You must choose at least one of the options.
Once you have completed all required information, press the blue Save Posting button to submit it to Career Services for approval.
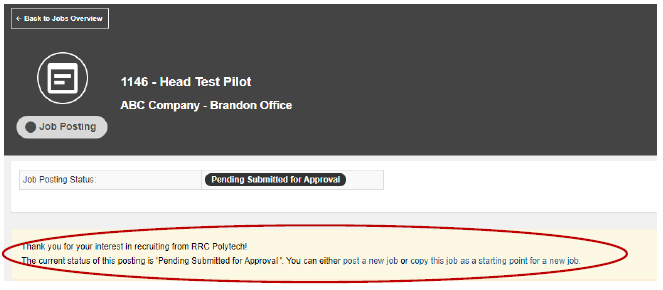
After clicking Save Posting, you will see a message confirming that your posting has been sent to Career Services for approval. It will be approved within 2 business days.
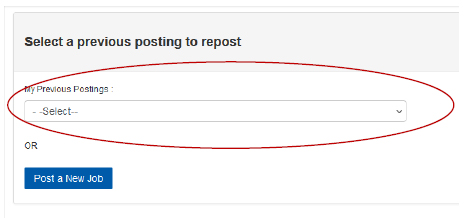
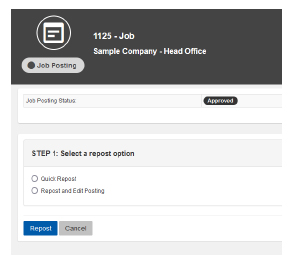
When you click Post a Job and choose Available Opportunities, you have the option to repost previous positions or post a new job. If you have any previously posted positions on Career Bridge, and would like to use one as a template, select it from the dropdown list.
Once selected, you have the options of a Quick Repost or Repost and Edit Posting.
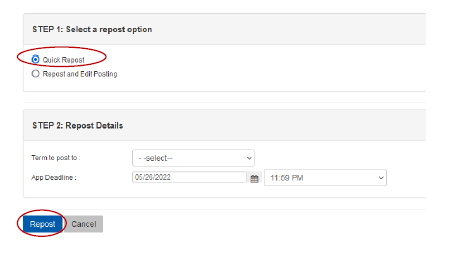
If you do not want to make any changes to the original posting, choose Quick Repost.
You can then choose a new application deadline and term to post it in (reminder: choose the date range when the position is expected to start in). Then click Repost to submit to Career Services for approval.
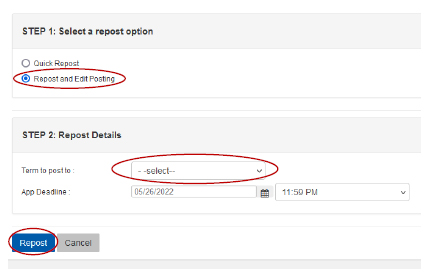
If you would like to edit the job description or details before posting, click Repost and Edit Posting. You can then choose a new application deadline and term to post it in (reminder: choose the date range when the position is expected to start in). Then, click Repost to be taken to the job posting form.
After clicking Repost, you will be directed to the job posting form, where you can edit the posting.
Once you have made the desired changes, scroll to the bottom, and press the Submit Posting for Approval button. The posting will be submitted to Career Services for approval.
You can view any opportunities you have posted by clicking the Job Postings tab from the Dashboard.
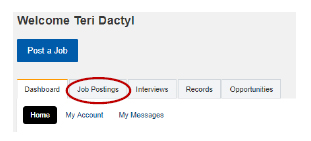
It will load a list of your existing postings.
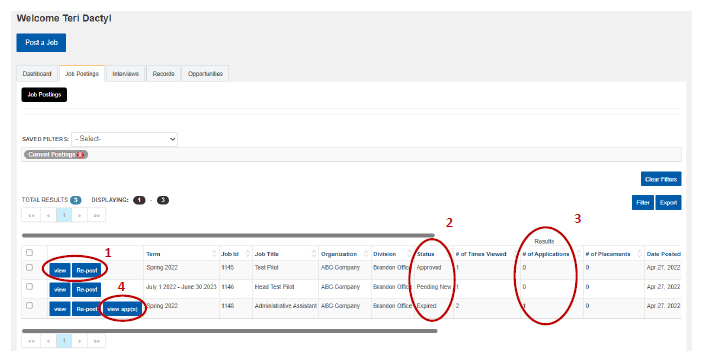
Users can view applications by pressing the view app(s) button in the job postings list (see Viewing Postings section), or by viewing the job posting and clicking the Applications tab.
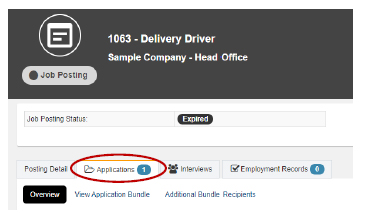
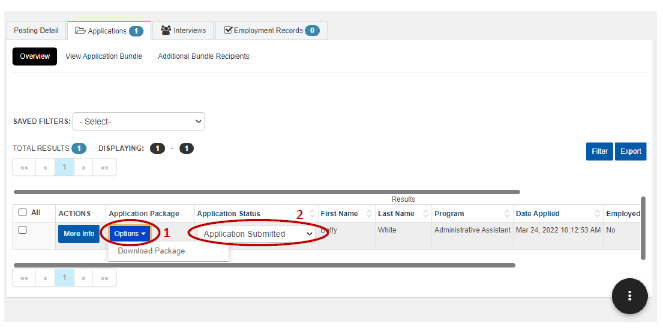
This tab will display all of applications and give users the option to download each application package.
Log into Career Bridge via the Employer link at the top of the page.
Click the “Job Postings” tab.
Find the position you wish to schedule interviews for. Click the “view app(s)” button next to that position.
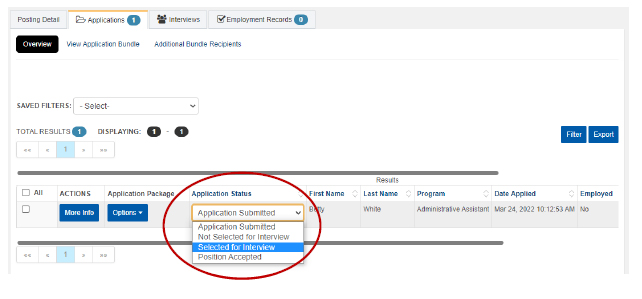
For each of the candidates you’d like to interview, change their application status to “Selected for Interview”.
Once you have selected all of the candidates you’d like to interview, you can then create an interview schedule.
Important: Be sure to select all candidates you wish to interview at this point. If you change any application statuses to “Selected for Interview” after creating an interview schedule, they will not receive an email inviting them to schedule an interview. If you wish to add additional students after creating the interview schedule, please contact CareerBridge@rrc.ca.
From the job posting or the applications page, click on the Action button (three vertical dots in the bottom right corner).
Choose Interview Options, then Create an Interview Schedule.
You will then see the image below.
Once you have completed this section, press Next.
You will then see a list of the applicants that you have selected for interview. If it is not correct, you can cancel and update the applicant selection. If it is accurate, press Next.
Important: If you change any application statuses to “Selected for Interview” after completing the interview schedule, they will notreceive an email inviting them to schedule an interview. If you wish to add additional students after creating the interview schedule, please contact CareerBridge@rrc.ca.
You will then be prompted to enter details about the interviews you’d like to schedule.
Important: If you are scheduling co-op interviews, please check with the WIL Coordinator regarding ideal dates and times.
Once you have completed this, press Next.
You can then review and adjust the interview schedule as needed, as well as enter in details about the Interviewer(s).
Once you have completed this, click Next.
Additional Instructions:
Click Next once you have completed this section.
Summary
Confirm that all details for the interviews are correct. Once you have confirmed, press Finish. Your interview request will then be sent to the Career Bridge administration team for approval. Once it has been approved, you will receive an email indicating that the schedule is now available for the applicants to book their interviews.
Important: If you view a schedule that has a current status of “Open”, candidates may still schedule an interview or make changes after you view it.
RRC Polytech campuses are located on the lands of the Anishinaabeg, Ininiwak, Anishininwak, Dakota Oyate, and Denésuline, and the National Homeland of the Red River Métis.
We recognize and honour Treaty 3 Territory Shoal Lake 40 First Nation, the source of Winnipeg’s clean drinking water. In addition, we acknowledge Treaty Territories which provide us with access to electricity we use in both our personal and professional lives.