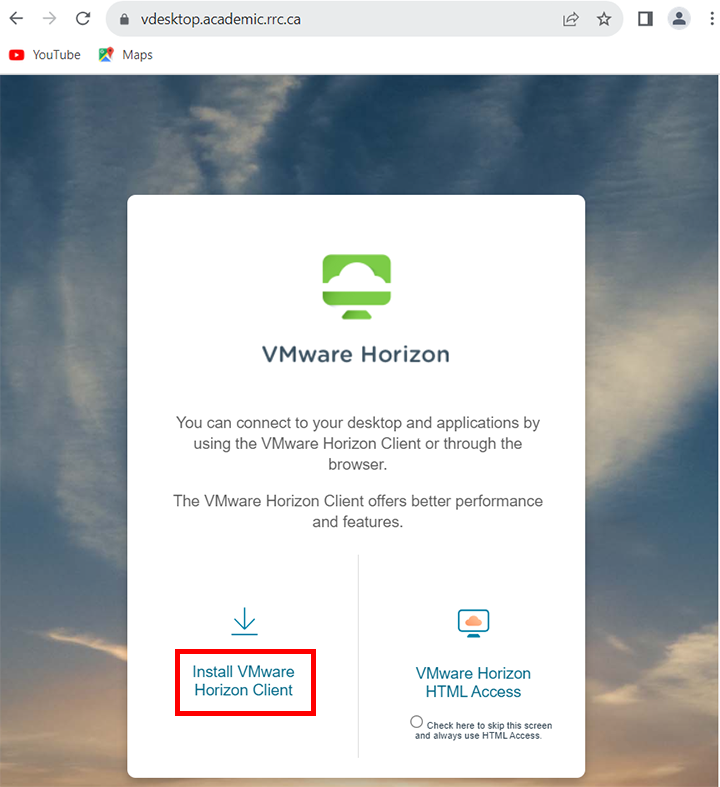
- Click the VMware Horizon link to navigate to the download website, and then click Install VMware Horizon Client.
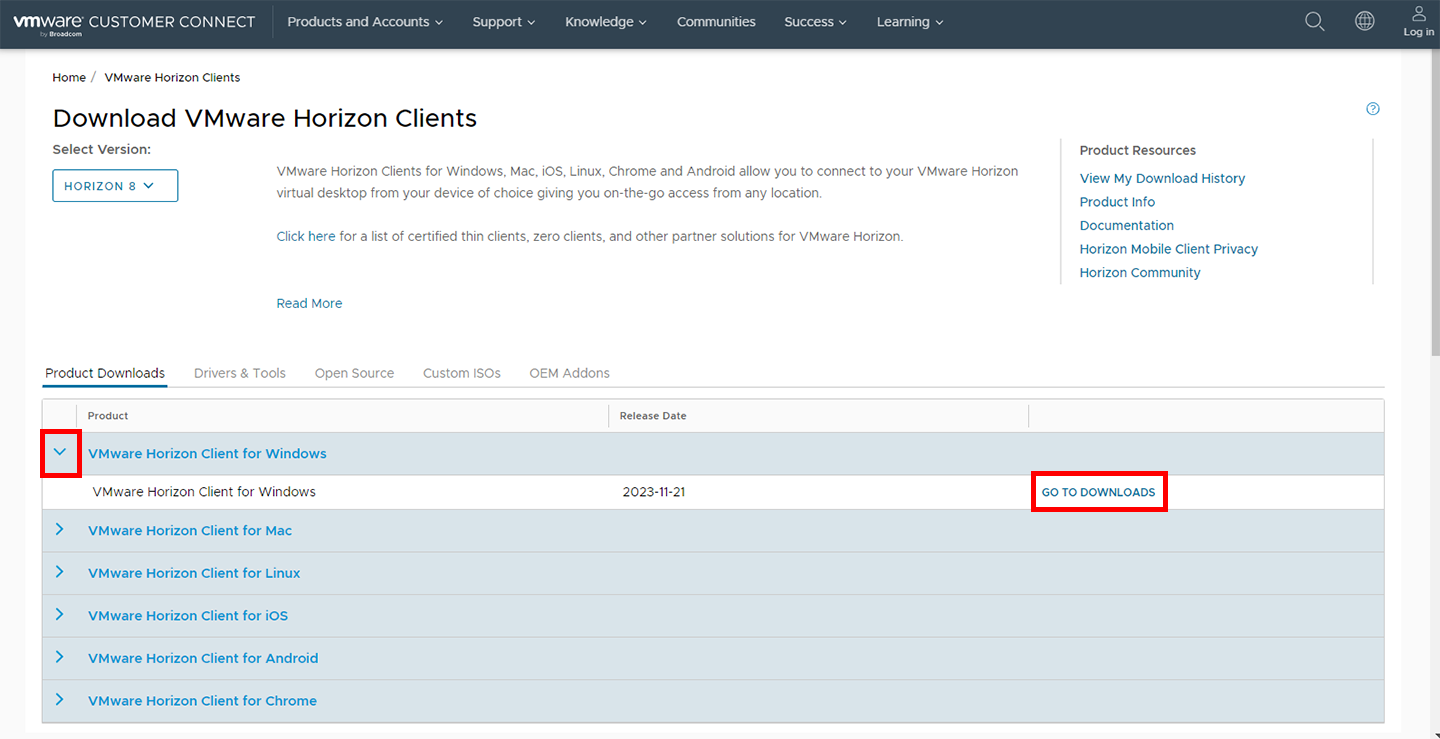
- On the VMware Download page, on the Product Downloads tab, in the VMware Horizon Client for Windows group, click the Go to Downloads link.
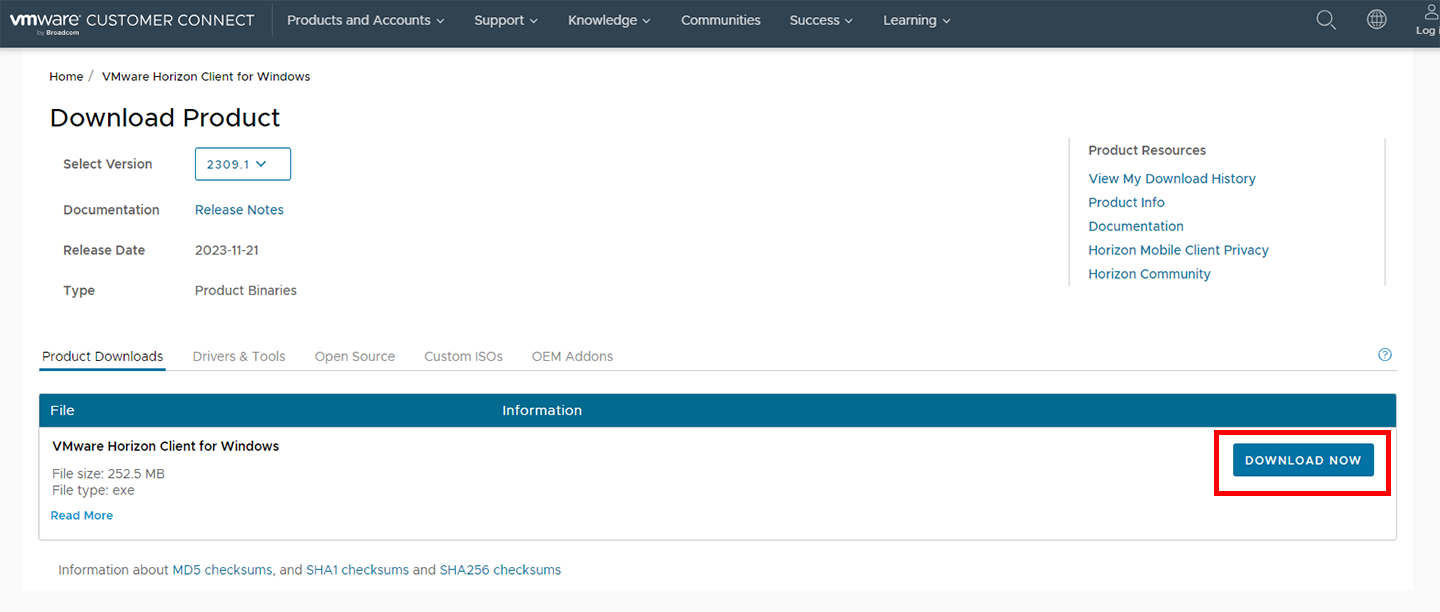
- On the VMware Download for Windows page, on the Product Downloads tab, in the VMware Horizon Client for Windows group, click the Download button.
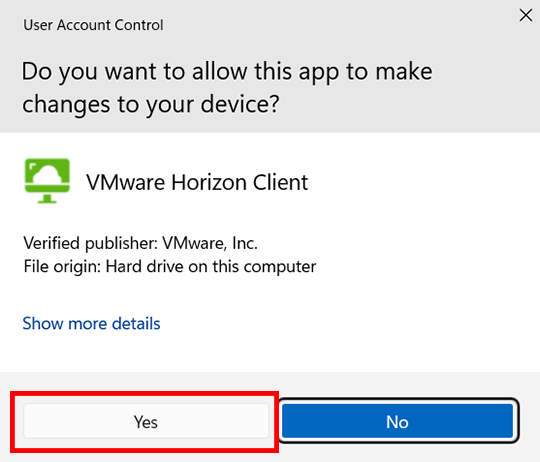
- Follow your web browser’s prompts for installing software, or double‑click the VMware Horizon Client installer in your Downloads folder and follow the prompts.
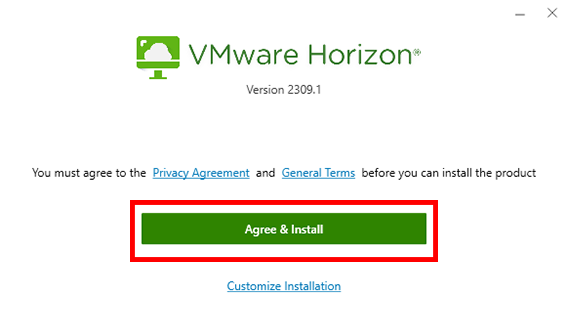
- On the VMware Horizon window, click Agree & Install, and accept all the software’s default settings if prompted.
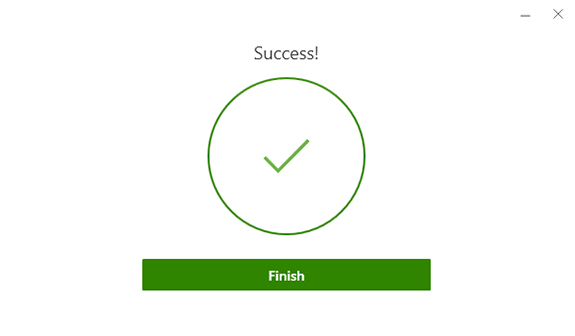
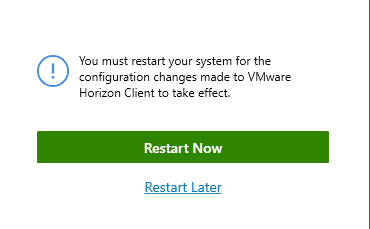
- When the Success window opens, click Finish, and then click Restart Now.
- Once your system restart is complete, double‑click the VMware Horizon Client desktop icon to launch the software.
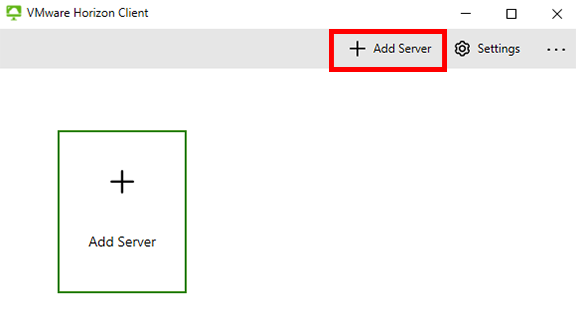
- If you are launching the software for the first time, on the VMware Horizon Client window, click the + New Server button.
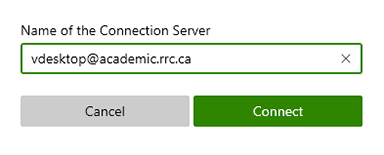
- Enter the server name as it appears in the image below into the field, and then click Connect.
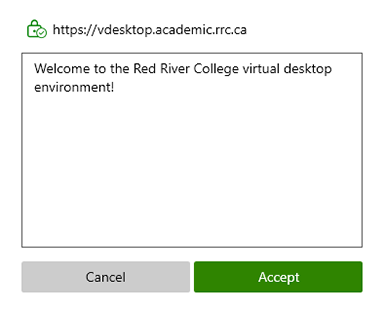
- On the Disclaimer window, click Accept.
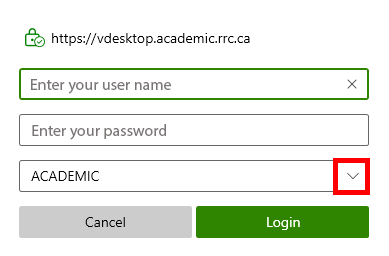
- On the Login window, enter your College User name and Password, and then click Login.
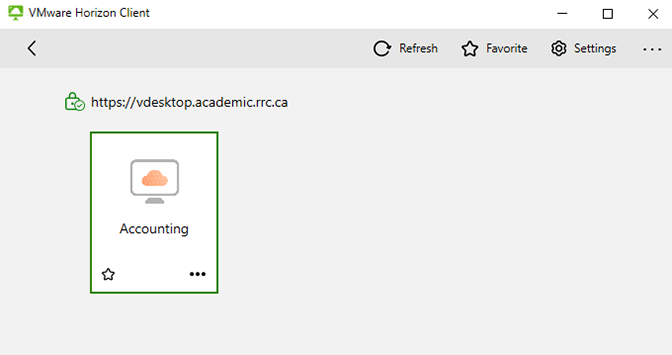
Once you log on, you will see the virtual desktop connections that you have access to.