Information Technology Solutions

Information Technology Solutions

Create View

Creating views allows you to create different ways of viewing your files or items other than the default view. You can create views of your information in your libraries and lists.

Some of the benefits of views include:

  • Information is easier to read.
  • View specific items more easily.
  • Better management of your library or list.

You can create multiple views for many different reasons using the following two formats:

  • Public view is for all members who have access.
  • Personal view is for information that only you need to view.

NOTE: You can scroll through the entire create view process or proceed directly to the instructions in the Modify an existing view section.

Create a view

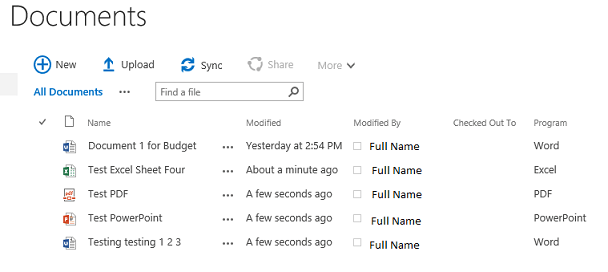
A library has a default view called All Documents; A list has a default view called All Items.

The image below displays the library default view. The files are in one large listing. The default view makes locating a particular file more difficult because it may not be in alphabetical order. This is especially true for libraries or lists with a lot of information.
document libary

    1. In a library, on the Library tab, click Create View.
      library tab
      NOTE: If you create a view in a list, click Create View on the List tab.

      list tab
    2. Choose the option that best suits your information from the available view types. (Standard View is most common.)
      settings window – view types
    3. On the Settings – Create View menu, choose from the following view options:
      • Enter the View Name and select the audience by clicking Create a Personal View or Create a Public View.
        view audience buttons
      • In the Columns group, choose the columns you would like in your view by selecting the Display check box, and then choose the position of Left drop‑down menu to indicate the order in which the columns should appear.
        column group
      • In the group By section, use the group by drop‑down menus to categorize your information using one or two columns, and then choose to display these items as Collapsed into their grouping or Expanded so that all information is visible.
        group by – expand/collapse options
      • Once complete, click OK.

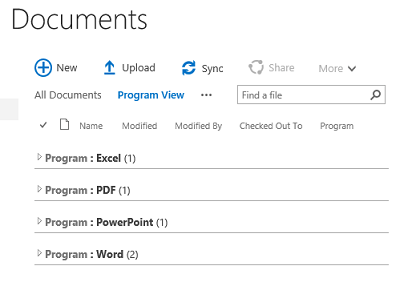
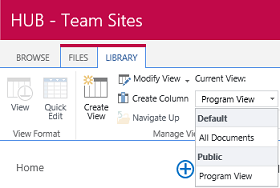
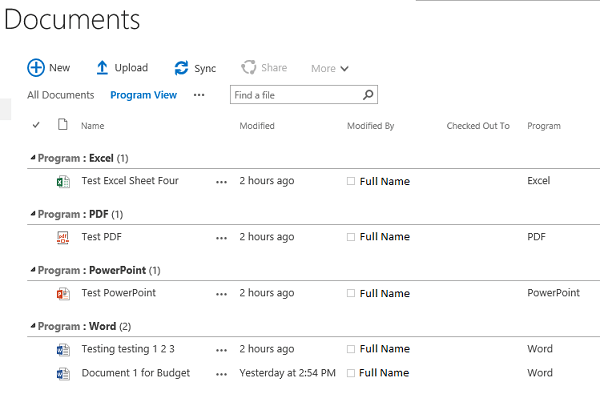
In the following image, you can see the new Program View categorized by the Program column. The categories are Collapsed to display only Excel, PDF, PowerPoint, and Word headings.
example library

Modify an existing view.

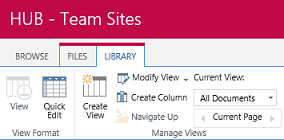
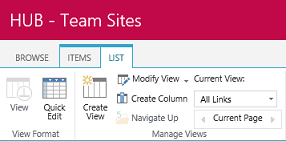
You can use Modify View to change the settings of an existing view in a library or list.

  1. On the Library tab, click the Current View drop‑down menu, select the view you want to modify, and then click Modify View.
    library tab – current view drop-down – modify view
    NOTE: To modify a view in a list, click the Current View drop‑down menu on the List tab, select the view you want to modify, and then click Modify View.

    list tab – current view drop-down – modify view
  2. On the Settings – Edit View menu, you can edit the following options and then click OK when finished:
    • View certain columns
    • Sort information by a column
    • Filter information by specific criteria
    • Group your information by a specific column

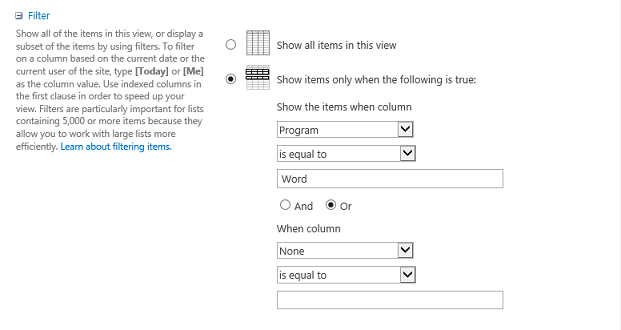
    The following example demonstrates a Filter option that only displays Word files from the Program column.
    filter options

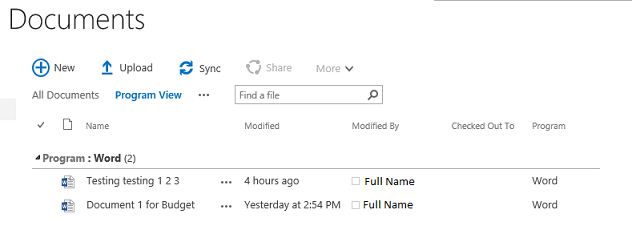
    The image below displays the filter option above once it is applied to show only the Word files.
    applied filter option

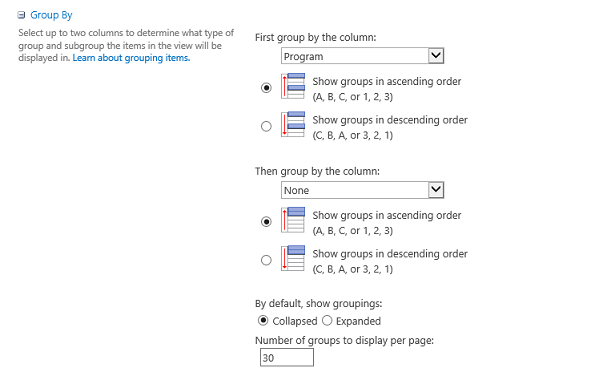
    The example below demonstrates the Group By option, which shows all the file types in the Program column. You can use the Collapsed or Expanded option, but this image depicts an expanded view.
    group by option applied

NOTE: The other files are still in your library, but they are not visible in these specific views.

For additional instructions about categorizing your information, please see the Create Column webpage.

← Back to SharePoint (teamsites@rrc.ca)

RRC Polytech campuses are located on the lands of Anishinaabe, Ininiwak, Anishininew, Dakota, and Dené, and the National Homeland of the Red River Métis.

We recognize and honour Treaty 3 Territory Shoal Lake 40 First Nation, the source of Winnipeg’s clean drinking water. In addition, we acknowledge Treaty Territories which provide us with access to electricity we use in both our personal and professional lives.

Learn more ›